
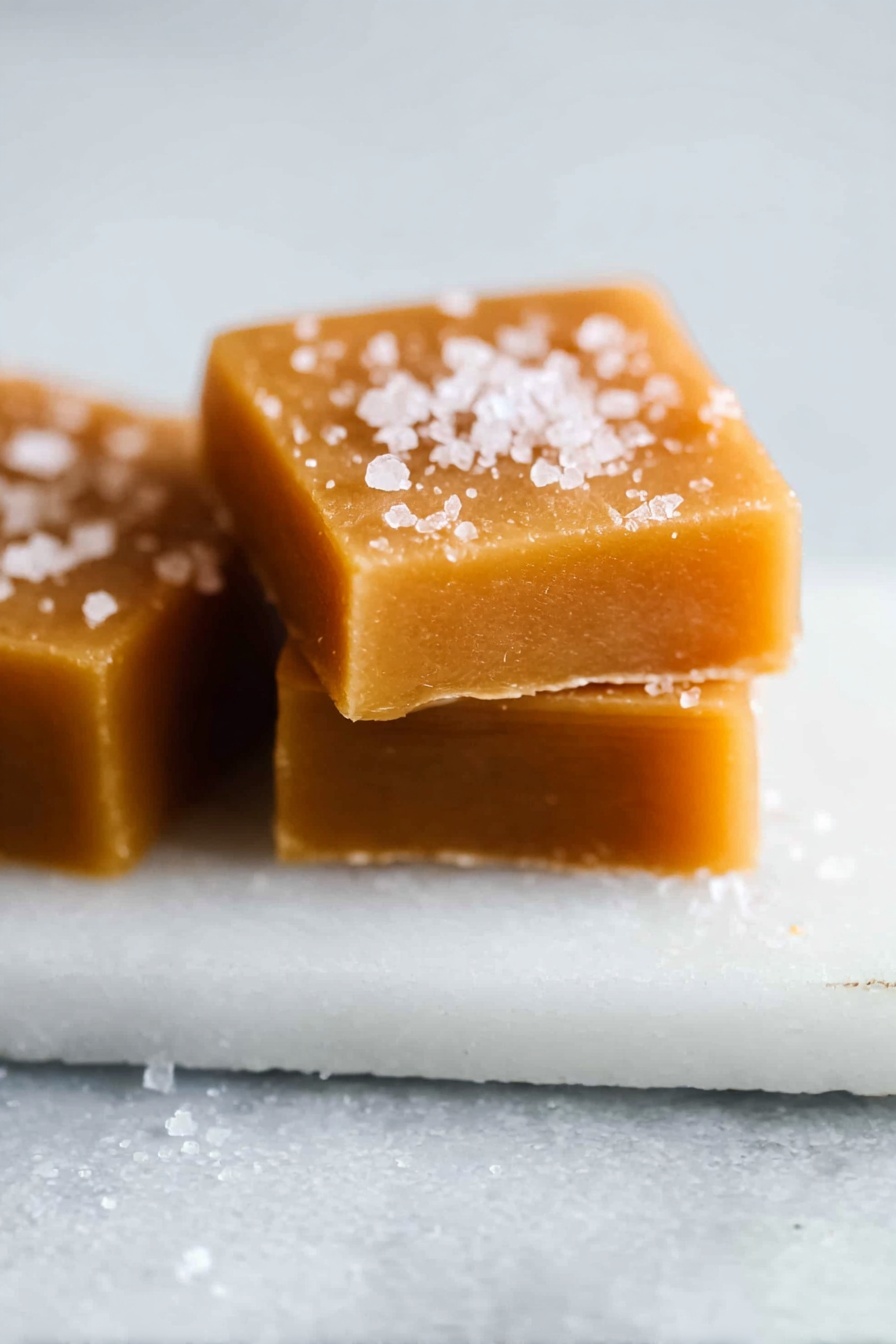
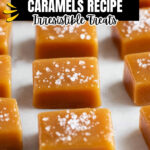
Homemade Salted Caramels Recipe
If you’re ready to treat yourself with something utterly delightful, you’re in the right place. This Homemade Salted Caramels Recipe is the kind of sweet that melts hearts and taste buds alike. I still remember the first time I made these — the rich aroma filling my kitchen, the satisfying tug of each caramel, and that perfect salty-sweet punch that keeps you coming back for more. Trust me, once you try this recipe, you’ll want to keep a batch stashed away for whenever life calls for a little indulgence. So, grab your apron and let’s dive in!
Why This Recipe Works
- Simple Ingredients: Uses everyday pantry staples, making it easy to whip up anytime.
- Perfect Texture Control: The temperature steps ensure your caramels are soft, chewy, and not sticky.
- Balanced Salted Sweetness: Flaked sea salt is sprinkled at the end for that ideal salty bite that elevates flavor.
- Customizable Approach: Options for firmer or softer caramels let you make it just how you like it.

Ingredients & Why They Work
Each ingredient in this Homemade Salted Caramels Recipe plays a starring role to create that rich, creamy texture and signature flavor we adore. Plus, I’ll share tips to help you pick the best versions for successful results.
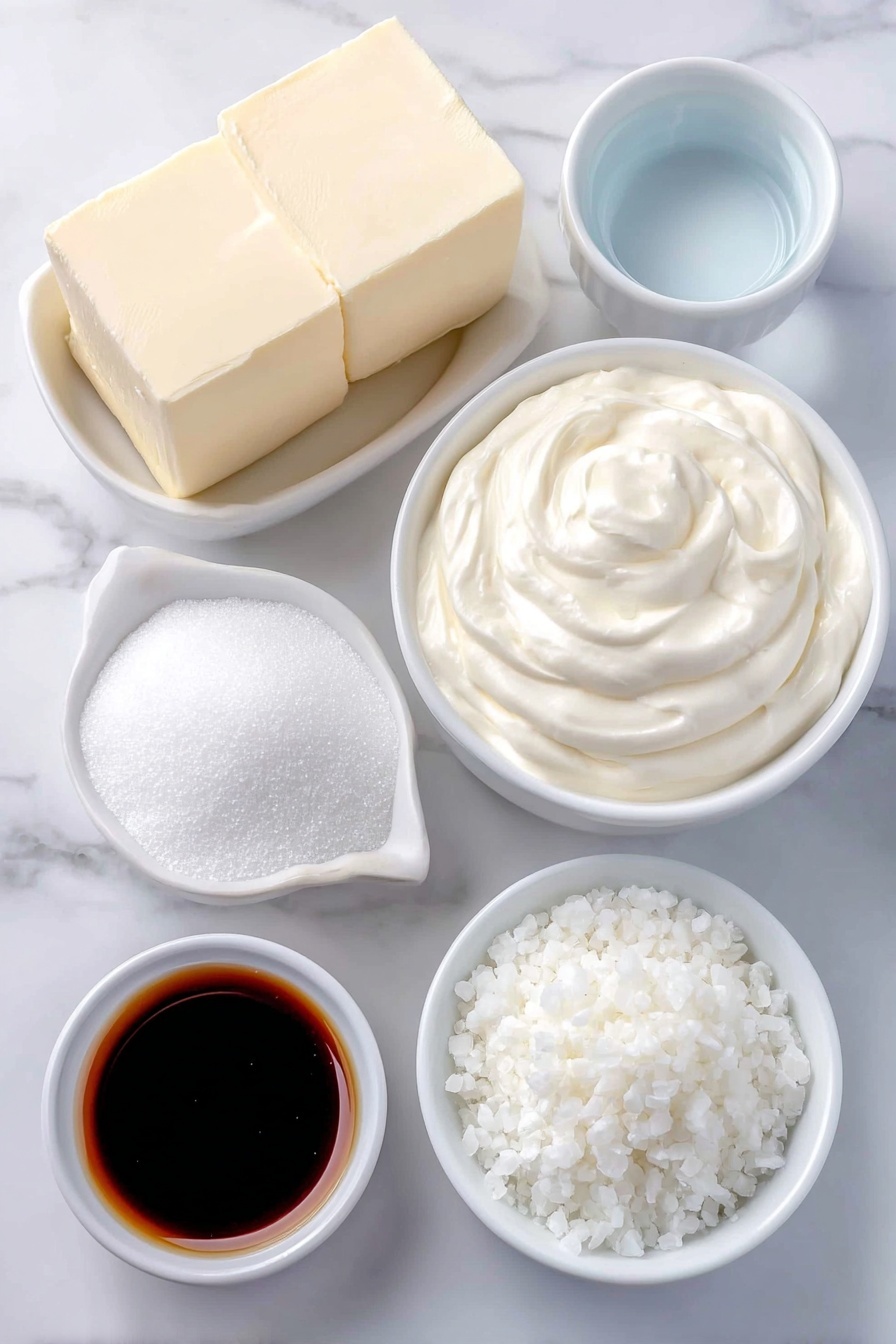
- Salted Butter: I prefer salted butter here because it layers in seasoning; if you only have unsalted, just add a bit of salt yourself to balance flavors.
- Heavy Cream: Opt for at least 35% butterfat — it’s what gives the caramel that luscious smoothness and helps with the chewy texture.
- Water: Helps dissolve sugar and controls the crystallization, so your caramels stay silky and smooth.
- Light Corn Syrup: The magic agent that keeps the sugar from crystalizing — without it, your caramel can get grainy.
- Granulated Sugar: Sweetens and caramelizes when heated, creating the beautiful amber color and deep flavor.
- Flaked Sea Salt: I love Maldon flakes for their delicate crunch and bright flavor; sprinkling salt after pouring the caramel adds that addictive salty kick.
Make It Your Way
One of the best things about this Homemade Salted Caramels Recipe is how flexible it is. I often tweak it depending on my mood or what I have on hand. Whether you want your caramels softer, a bit more buttery, or want to try out a natural syrup alternative, go for it! This recipe is your canvas.
- Variation: I once swapped corn syrup for golden syrup — the caramel had a richer, deeper flavor that I just loved. If you’re nervous, try half and half for a gentle transition.
- Dietary Change: For a dairy-free version, try using coconut cream and a plant-based butter substitute, but be mindful texture can vary.
- Texture Tweak: Want firmer caramels? Cook them a few extra degrees (245°F) after adding butter and cream. For the soft, tender chew that’s my personal favorite, stick right at 240°F.
Step-by-Step: How I Make Homemade Salted Caramels Recipe
Step 1: Get Your Pan Ready
Start by lightly oiling a 9×5-inch loaf pan — don’t skip this because you want the caramels to release easily later. Then, cut a piece of parchment paper to fit inside with at least an inch hanging over the sides. Lightly oil the parchment too, then set your pan aside. This prep step saves you frustration when it’s time to unmold.
Step 2: Warm the Butter and Cream
Cut your salted butter into cubes and put them into a microwave-safe bowl with the heavy cream. Heat for 1-2 minutes until the butter melts and the mixture is hot but not boiling. Having this mixture ready means when the time comes to add it to the sugar syrup, it won’t cause drastic temperature drops that mess with your caramel’s texture.
Step 3: Make the Sugar Syrup
Pour water and corn syrup into a small, heavy-bottomed saucepan. Add the granulated sugar carefully so it doesn’t splash up the sides. Place the pan over medium heat and bring to a boil. Once boiling, cover with a lid for exactly 1 minute — this steam melts sugar crystals off the pan edges, preventing graininess, which is a common caramel pitfall.
Step 4: Cook Sugar to 320°F
Remove the lid and clip a candy thermometer to the pan. Watch closely — cook until the sugar reaches 320°F (160°C) and you notice a lovely amber color forming around the edges, usually between 5 to 10 minutes. This is when deep caramel flavors bloom. Keep an eye here; overshooting can make the caramel taste bitter.
Step 5: Slowly Add Butter and Cream Mixture
Pour about a sixth of the butter and cream mixture into the hot sugar syrup very slowly while stirring — the mixture will bubble fiercely, so be cautious. Stir with the base of your thermometer to incorporate it fully before adding the next batch. Repeat until it’s all combined. This slow addition prevents the hot sugar from seizing up and ensures a smooth, creamy caramel.
Step 6: Cook to 240°F
After adding all the butter and cream, the temperature will drop — that’s normal! Keep cooking the mixture gently until it hits 240°F (115°C), which gives you the classic soft caramel texture. This stage usually takes 5 to 10 minutes. Remember, patience here pays off: undercook and it’ll be too soft, overcook and it’ll be too firm.
Step 7: Cool and Salt
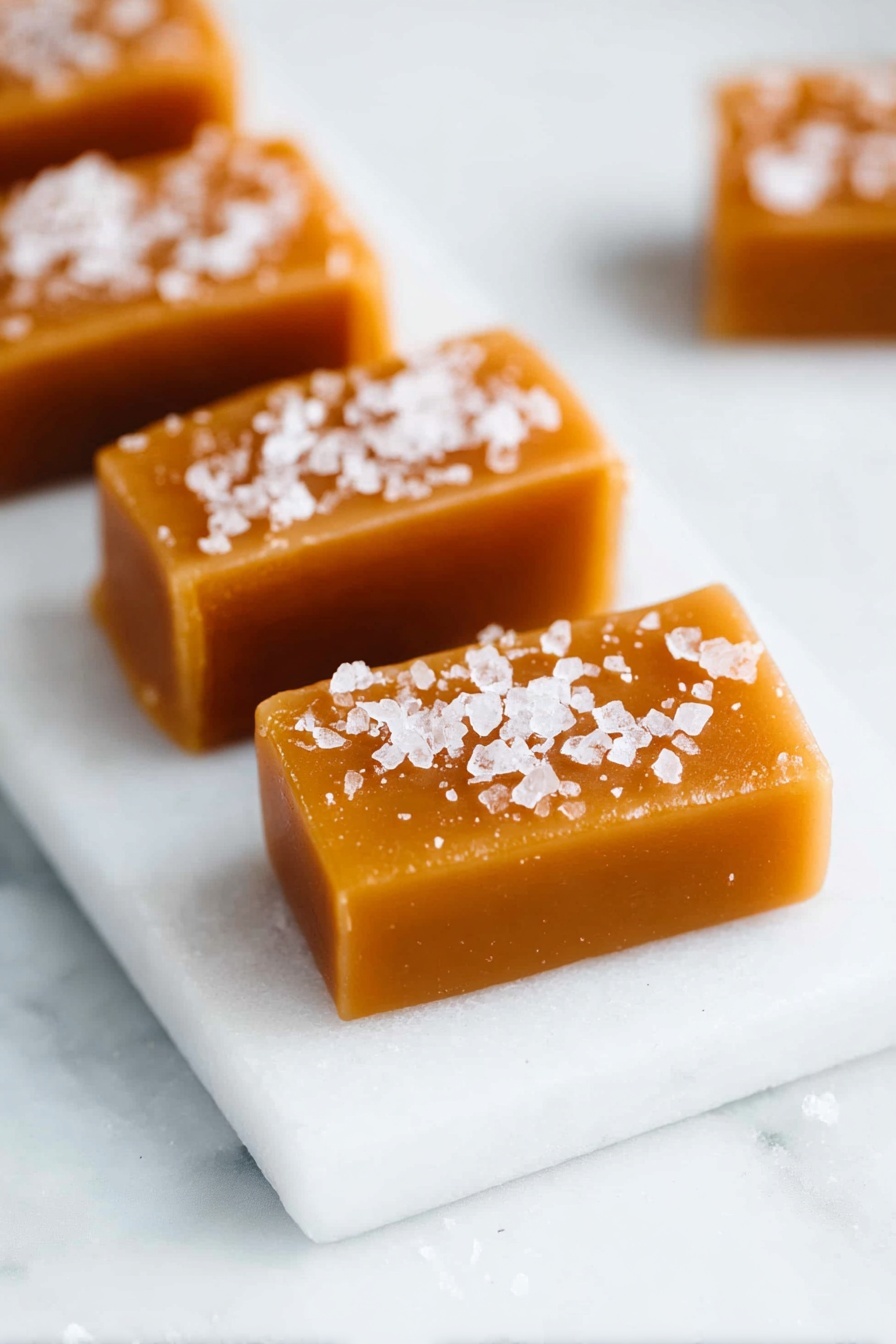
Carefully pour your caramel into the prepared pan. Let it sit for 20 minutes; then sprinkle the flaked sea salt evenly on top. The salt flakes not only enhance flavor but also add a beautiful finishing touch. Let it cool completely at room temperature — about 3½ hours — for the best chewy texture.
Step 8: Cut into Heavenly Caramels
Once cooled, gently lift the caramel using the parchment paper. If it feels too soft, pop it in the fridge for 30 to 45 minutes to firm up before cutting. Use a large, sharp knife to slice into rectangles about 1-inch by ½-inch. Wrap each piece in plastic wrap or wax paper to keep them fresh.
Tips from My Kitchen
- Keep Your Thermometer Handy: A reliable candy thermometer is your best friend; it helps nail the texture every time.
- Use Heavy-Bottomed Saucepan: This prevents hot spots and burning — I swear by my All-Clad pan for consistent heat.
- Patience is Key: Never rush the cooling process or cutting stage; it makes all the difference in the final chew.
- Watch the Sugar Carefully: Sugar can go from perfect to burnt quickly — stay attentive during the cooking stages.
How to Serve Homemade Salted Caramels Recipe
Garnishes
I’m all about simplicity here — a sprinkle of flaky sea salt right after pouring the caramel in the pan is my favorite. If I’m feeling fancy, I add a tiny dusting of cocoa powder or wrap a few caramels with edible gold leaf for special occasions. It’s fun and adds a little wow factor without changing the flavor.
Side Dishes
These caramels stand on their own as a sweet treat but pair beautifully with a strong cup of coffee or a creamy chai latte. I also like serving them alongside vanilla bean ice cream — the contrast of cold and chewy caramel is just heavenly.
Creative Ways to Present
For gifting, I wrap each caramel in waxed paper tied with a thin ribbon and nestle them in a pretty tin. They also make adorable favors when stacked in mini cellophane bags tied off with twine or a personalized tag — always a hit at holiday parties!
Make Ahead and Storage
Storing Leftovers
I always wrap each caramel individually in plastic or wax paper to keep them from sticking together. Then, I store them in an airtight container at room temperature or in the fridge if it’s warm. They keep fresh for up to two weeks this way — although they rarely last that long in my house!
Freezing
Freezing is a great option if you want to make these caramels well ahead of time. I wrap them individually and freeze inside freezer-safe containers or bags. When ready to enjoy, just set them out for a bit to thaw at room temperature — no soggy texture, I promise.
Reheating
If your caramels get a little firm in the fridge or freezer, let them sit at room temp for 20 minutes. For a softer texture, a few seconds in the microwave (cover them loosely) can bring back that perfect chew.
FAQs
-
Can I use unsalted butter instead of salted in this Homemade Salted Caramels Recipe?
Yes, you absolutely can! Just add about ¼ teaspoon of fine salt to the recipe if you switch to unsalted butter. This will help keep the balance of salty-sweet flavor that makes salted caramels so special.
-
What’s the best way to avoid grainy caramel?
Covering the saucepan for a minute once the sugar boils to create steam, which washes down sugar crystals clinging to the pan, is key. Also, use corn syrup because it prevents crystallization. Stirring gently when adding butter and cream helps keep everything smooth.
-
How do I know when the caramel is done cooking?
Using a candy thermometer is your best bet. Cook the sugar mixture first to 320°F (160°C), then after adding butter and cream, cook to 240°F (115°C) for soft caramels. If you want firmer ones, go up to 245°F (118°C).
-
Can I substitute corn syrup with something else?
Sure! Some folks have success using pure honey or golden syrup instead of corn syrup. The texture might vary a bit, so I suggest trying a small batch first to see how you like the results.
-
How long do homemade salted caramels last?
Wrapped individually and stored airtight, they last up to two weeks at room temperature or refrigerated. You can also freeze them for up to a month with no loss of quality.
Final Thoughts
This Homemade Salted Caramels Recipe has become one of my all-time favorites — it’s the perfect blend of luxurious texture and that amazing salty-sweet flavor combo that’s hard to resist. Whether you’re a seasoned candy maker or a newbie just trying something new, I promise this recipe is approachable and worth the little bit of patience it asks for. So next time you want to impress friends, or just treat yourself, grab your ingredients and get ready to make some magic. Happy caramel making!
Print
Homemade Salted Caramels Recipe
- Prep Time: 3 hours 45 minutes
- Cook Time: 20 minutes
- Total Time: 4 hours 5 minutes
- Yield: 24 pieces
- Category: Dessert
- Method: Stovetop
- Cuisine: American
- Diet: Vegetarian
Description
These homemade salted caramels are soft, chewy, and perfectly balanced with a touch of sea salt. Made with butter, heavy cream, sugar, and corn syrup, this classic candy recipe uses simple ingredients and a candy thermometer for precise cooking, resulting in rich and buttery caramels that melt in your mouth. Ideal for gifting or treating yourself, these caramels can be stored wrapped individually for up to two weeks or frozen for longer freshness.
Ingredients
Main Ingredients
- 8 tablespoons salted butter (113g)
- ½ cup heavy cream, at least 35% butterfat (120ml)
- 3 tablespoons water (44ml)
- ¼ cup light corn syrup (60ml)
- 1 cup granulated sugar (200g)
- ½ teaspoon flaked sea salt, like Maldon
Instructions
- Prepare Pan: Lightly oil a 9×5-inch loaf pan. Cut a piece of parchment paper to fit inside the pan with at least an inch overhang on the sides. Lightly oil the parchment paper as well, place it inside the pan, and set aside for later.
- Heat Butter and Cream: Cut the salted butter into 8 pieces and place them in a microwave-safe bowl. Add the heavy cream to the bowl. Microwave for 1 to 2 minutes until the butter melts and the mixture is hot. Set aside for later use.
- Make Sugar Syrup: In a small, heavy-bottomed saucepan, combine the water and corn syrup. Carefully add the sugar to avoid splattering it up the sides of the pan. Place the saucepan over medium heat and cook until the sugar boils. Cover with a lid for 1 minute to create steam which helps dissolve any sugar crystals on the sides.
- Cook to 320°F: Remove the lid and attach a candy thermometer to the side of the pan. Continue cooking the sugar syrup until it reaches 320°F (160°C) and starts to turn an amber color around the edges, about 5 to 10 minutes.
- Add Butter and Cream: Slowly and carefully pour about one-sixth of the hot butter and cream mixture into the sugar syrup while stirring from the base of the thermometer to incorporate. Repeat adding the rest in small batches, stirring between each addition. The mixture will bubble vigorously, so proceed cautiously to avoid overflow.
- Cook to 240°F: After all the butter and cream is added, the temperature will drop. Continue cooking until the mixture reaches 240°F (115°C), which should take 5 to 10 minutes.
- Cool the Caramel: Pour the hot caramel mixture carefully into the prepared loaf pan. Let it cool for 20 minutes, then evenly sprinkle the flaked sea salt over the top. Allow the caramel to cool completely for about 3 ½ hours at room temperature.
- Cut into Caramels: Once cooled and set, unmold the caramel using the parchment paper. If too soft to handle, refrigerate for 30 to 45 minutes to firm up. Use a sharp, large knife to cut the caramel into desired sizes, recommended as 1-inch by ½-inch rectangles.
Notes
- Wrap individual caramels in plastic wrap or waxed paper for storage.
- Store caramels refrigerated for up to two weeks or freeze for up to one month.
- You can substitute corn syrup with pure honey or golden syrup, but corn syrup gives the most reliable texture.
- If using unsalted butter, add ¼ teaspoon fine salt to the recipe to maintain the salted caramel flavor.
- For softer caramels, add an additional 2 to 4 tablespoons of cream to the butter and cream mixture.
- To achieve firmer caramels, cook the mixture to 245°F (118°C) after adding butter and cream instead of 240°F.
- Doubling the recipe is not recommended unless experienced, since accurate temperature control is critical.
- Use a candy thermometer and a heavy-bottomed saucepan for best results.
Nutrition
- Serving Size: 1 piece
- Calories: 90 kcal
- Sugar: 10 g
- Sodium: 40 mg
- Fat: 5 g
- Saturated Fat: 3 g
- Unsaturated Fat: 2 g
- Trans Fat: 0 g
- Carbohydrates: 10 g
- Fiber: 0 g
- Protein: 0.3 g
- Cholesterol: 15 mg


