Raspberry Pop Tarts Recipe
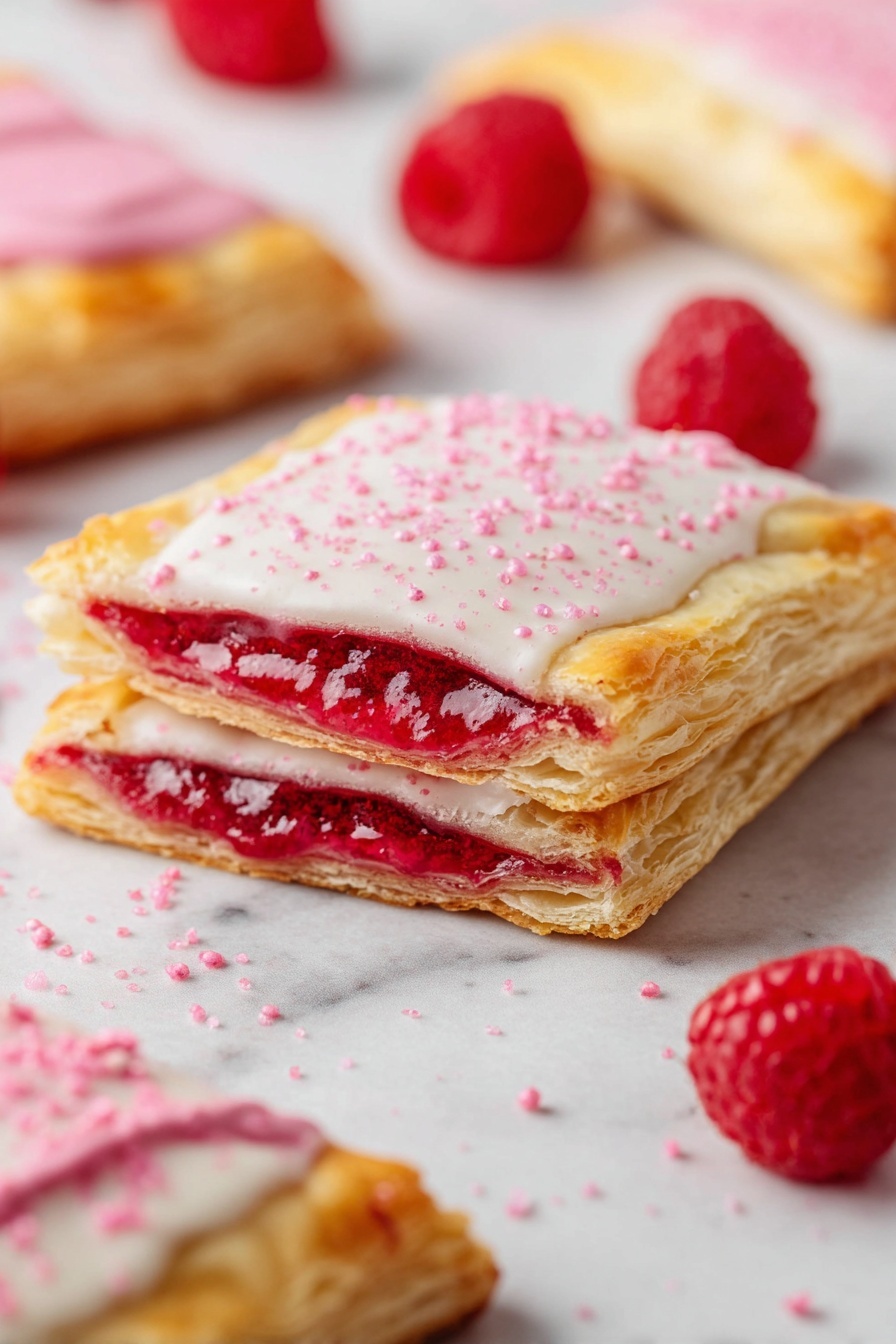
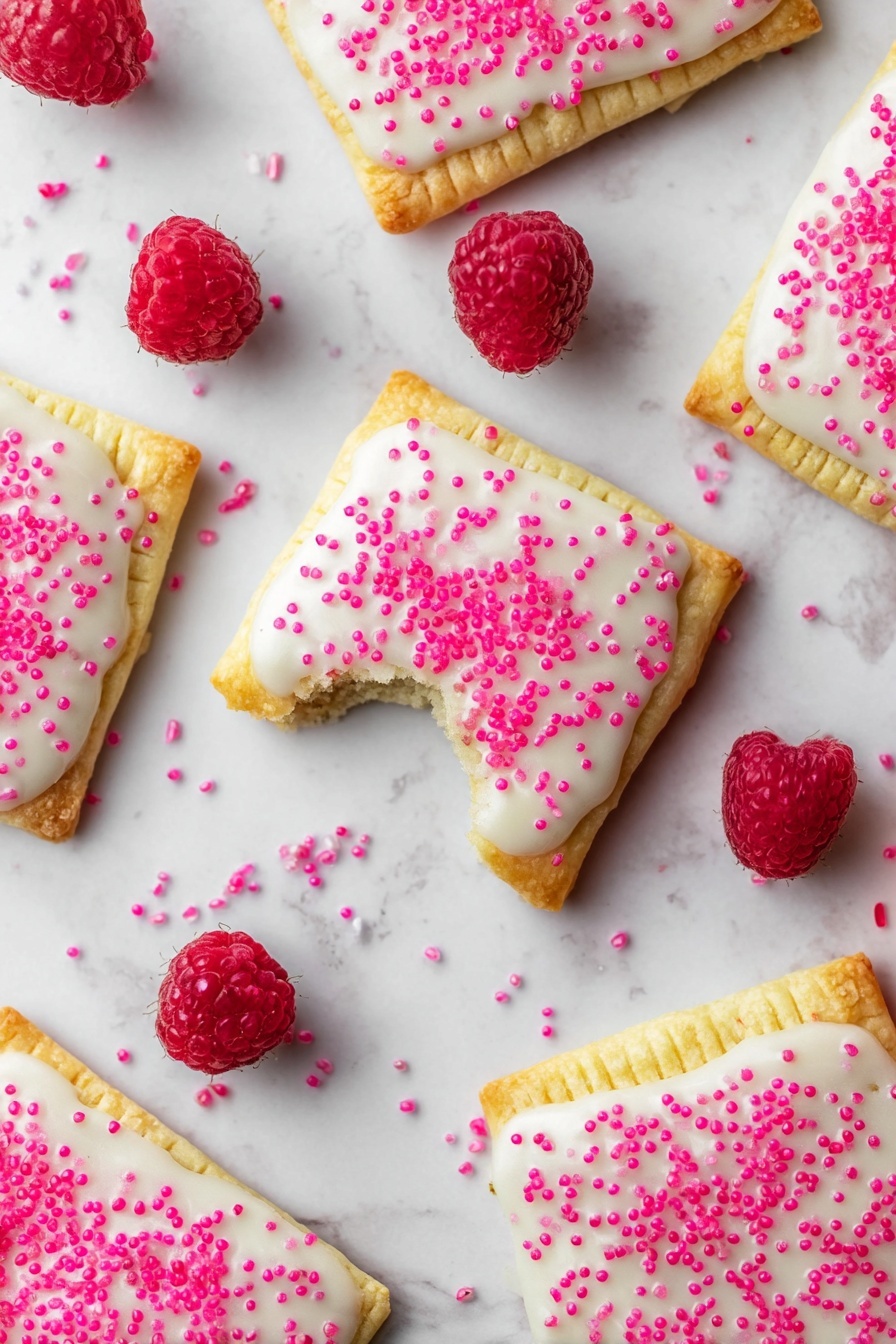
If you’ve ever dreamed of homemade breakfast treats that taste just like the ones you loved as a kid—only way better—you’re in for a real delight. This Raspberry Pop Tarts Recipe is one of those recipes that’s so much fun to make and even more fun to eat. I remember the first time I baked these; the smell alone made me want to dive right in, and the fresh raspberry filling paired with flaky, buttery crust? Total game changer. Stick with me, and I’ll walk you through making these flaky, fruity, and frosted beauties that will have you wondering why you ever bought those store-bought versions.
Why This Recipe Works
- Fresh and Flavorful Filling: Using real raspberries and just the right balance of sugar and lemon juice makes the filling perfectly tangy and sweet.
- Flaky Pie Crust: Starting with refrigerated pie crust makes it so easy while guaranteeing a flaky, buttery texture every single time.
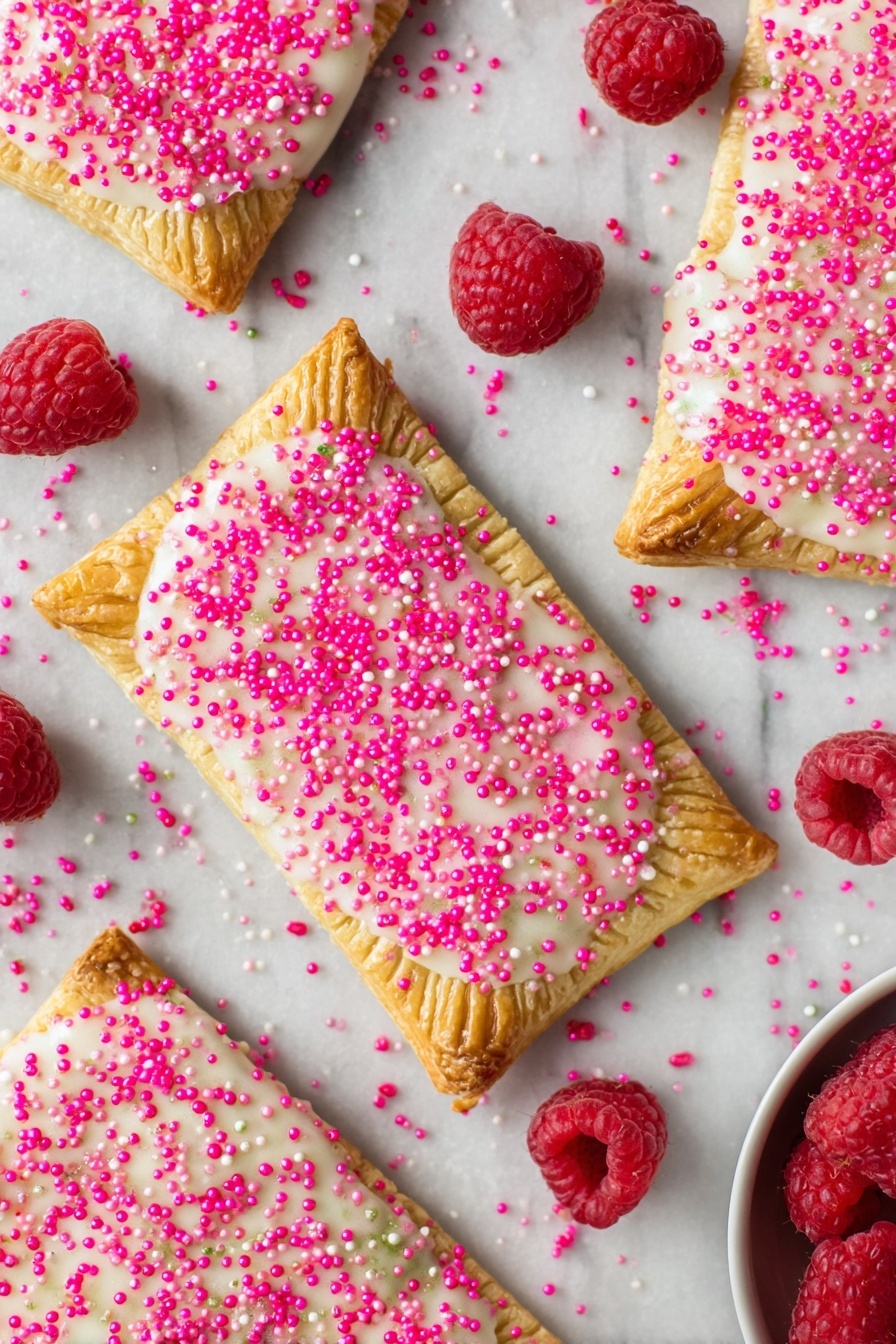
- Simple Yet Delicious Icing: The vanilla glaze is just the right touch to finish off these pop tarts, with sprinkles adding a fun pop of color.
- No Fancy Tools Needed: Just a pizza cutter, a fork, and your oven—anyone can do this!
Ingredients & Why They Work
This Raspberry Pop Tarts Recipe comes together with simple, everyday ingredients that complement each other beautifully. The fresh raspberries are the star of the show, balanced with sugar and thickened with corn starch to get that perfect jammy texture. The store-bought pie crust saves time but still delivers that classic buttery crunch, and the vanilla icing adds just the right amount of sweetness and charm. Here are my quick tips for each ingredient.

- Refrigerated Pie Crust: Using chilled pie crust helps keep the dough flaky; don’t let it get too warm before rolling.
- Raspberries: Fresh is great, but frozen works perfectly too—just thaw and drain any excess liquid to avoid soggy tarts.
- Sugar: Balances the tartness of raspberries, but feel free to adjust to taste.
- Corn Starch: Essential for thickening the filling so it doesn’t ooze out when baking.
- Lemon Juice: Adds brightness and prevents the filling from tasting too sweet.
- Egg (for egg wash): Gives the crust a gorgeous golden sheen.
- Powdered Sugar: The base for the icing—it melts smoothly for that perfect glaze.
- Milk: Controls the consistency of the icing; add it slowly to get your ideal thickness.
- Vanilla Extract: Adds warmth and depth to the frosting.
- Red Sprinkles: Just for fun! They add a nostalgic pop of color and whimsy.
Make It Your Way
I love making this Raspberry Pop Tarts Recipe my own by playing with the filling and toppings depending on my mood or the season. Feel free to get creative—you might surprise yourself with some new favorites!
- Variation: For a twist, I sometimes swap raspberries for fresh strawberries or mixed berries. The filling tastes just as amazing and adds a little variety.
- Dietary Mods: If you’re gluten-free, store-bought gluten-free pie crusts work well here, just be gentle when sealing the edges.
- Seasonal Change: In cooler months, I add a pinch of cinnamon or ground ginger to the filling for warmth and depth.
Step-by-Step: How I Make Raspberry Pop Tarts Recipe
Step 1: Create the Raspberry Filling
Start by combining raspberries, sugar, corn starch, and lemon juice in a medium saucepan over medium heat. Stir gently but constantly with a rubber spatula. Soon, you’ll see the mixture thicken and bubble—this magic means the filling is starting to set. Once it’s thick and glossy, take it off the heat and transfer the filling to a heat-safe bowl. Pop it into the freezer, stirring every 10 minutes until it’s completely cooled—this step really helps the filling set just right for your pop tarts.
Step 2: Roll and Cut the Pie Dough
On a lightly floured surface, gently roll out your pie dough into a rectangle shape. Using a pizza cutter and ruler, cut the dough into 3″x4½” rectangles. You’ll want twelve rectangles in total—half will be the bottom layer holding the filling, and half will be the top layer.
Step 3: Assemble Your Pop Tarts
Place one rectangle on your prepared baking sheet lined with parchment or a silicone mat. Lightly brush it with the egg wash—that beautiful golden hue starts here! Spoon 1 to 1½ tablespoons of the raspberry filling right in the center. Top it with another rectangle and seal the edges firmly by pressing with a fork all around. Repeat until you have six lovely pop tarts assembled. Pop the whole tray into the freezer while you preheat your oven—this helps keep them from puffing up too much while baking.
Step 4: Bake to Golden Perfection
Preheat your oven to 400°F. Before popping them in, gently poke holes on top of each pop tart with a toothpick or knife to let steam escape, then brush them again with egg wash for that gorgeous shine. Bake for 15-20 minutes or until they turn golden brown on top and smell utterly irresistible.
Step 5: Whip Up the Vanilla Icing and Decorate
While your pop tarts cool, mix powdered sugar, milk, and vanilla extract to make your glaze. Find that sweet spot where the icing is thick but spreadable—too thick and it won’t drizzle well, too thin and it’ll slide right off. Once the pop tarts have cooled completely, drizzle generously and add a sprinkle of red sprinkles for a nostalgic, festive touch. Let the icing set before digging in.
Tips from My Kitchen
- Chill to Seal: Freezing the formed pop tarts before baking keeps the filling inside and prevents puffing too much on top.
- Don’t Overfill: I learned the hard way that too much filling makes the pop tarts leak, so stick to about 1 to 1½ tablespoons.
- Egg Wash Magic: Brushing both before and after assembly adds that irresistible golden shine and crispness.
- Proper Cooling: I always wait until they’re completely cool before icing—otherwise, the glaze melts and loses that beautiful texture.
How to Serve Raspberry Pop Tarts Recipe
Garnishes
While the icing and sprinkles give these pop tarts plenty of charm, I sometimes like to add a light dusting of powdered sugar or a fresh raspberry on top when serving. It just adds that extra bit of pizzazz—perfect if you’re impressing guests or making a weekend breakfast feel special.
Side Dishes
I usually pair these pop tarts with a simple cup of coffee or tea—and maybe some fresh fruit if I’m feeling extra wholesome. They also go surprisingly well with a dollop of vanilla yogurt or whipped cream for an indulgent brunch treat.
Creative Ways to Present
For a holiday or birthday, I love arranging these Raspberry Pop Tarts on a pretty plate with fresh mint leaves or edible flowers around them. Drizzling a little extra raspberry sauce on the side creates that bakery feel. And hey, if you make mini versions, they make adorable little party favors!
Make Ahead and Storage
Storing Leftovers
I store leftover pop tarts in an airtight container in the fridge, and they keep well for up to three days. I usually just cover them in plastic wrap before tucking them away to maintain that fresh crust texture.
Freezing
These pop tarts freeze beautifully! After assembling, I flash freeze them on the baking sheet, then transfer to a freezer-safe bag for up to 2 months. When you’re ready, bake them straight from frozen, just adding a couple extra minutes to the baking time.
Reheating
To bring leftovers back to life, I pop them in a toaster oven or regular oven at 350°F for about 5-7 minutes. This helps crisp the crust again without overcooking the filling. Avoid microwaving if you want to keep that delicate flakiness.
FAQs
-
Can I use frozen raspberries for this Raspberry Pop Tarts Recipe?
Absolutely! Frozen raspberries work just fine—just make sure to thaw them and drain off any extra liquid before cooking the filling. This helps prevent soggy pop tarts.
-
Do I have to make my own pie crust?
Not at all. I use refrigerated pie crusts for convenience, and they give great results. If you prefer homemade, just be sure the dough is well chilled before rolling and assembling.
-
How do I prevent the filling from leaking out?
Using corn starch in the filling thickens it nicely. Also, sealing the edges well with egg wash and crimping with a fork helps prevent leaks. Chilling the assembled pop tarts before baking is another trick that keeps them intact.
-
Can I make these ahead of time?
Yes! You can prepare and freeze the assembled pop tarts before baking, then bake fresh from frozen. Or make the filling the day before to save time in the morning.
-
What can I substitute for the vanilla glaze?
If you want to skip the vanilla glaze, a simple dusting of powdered sugar works well. Or try a light drizzle of melted white chocolate for a richer finish.
Final Thoughts
This Raspberry Pop Tarts Recipe has become one of my favorite homemade treats to whip up whenever I want a fun, nostalgic breakfast—or a snack that doubles as dessert. It’s approachable, doesn’t demand fancy ingredients or skills, and delivers that bakery-quality crunch and flavor at home. I can’t wait for you to try it and discover just how satisfying it is to make pop tarts from scratch. Trust me, once you taste these, store-bought ones will never quite hit the spot again!
Print
Raspberry Pop Tarts Recipe
- Prep Time: 30 minutes
- Cook Time: 20 minutes
- Total Time: 1 hour
- Yield: 6 pop tarts
- Category: Breakfast
- Method: Baking
- Cuisine: American
- Diet: Vegetarian
Description
Delicious homemade Raspberry Pop Tarts featuring a flaky pie crust filled with sweet and tangy raspberry filling, topped with a smooth vanilla icing and festive red sprinkles. Perfect for a sweet breakfast treat or snack.
Ingredients
Pie Crust
- 1 box refrigerated pie crust (2-count)
Raspberry Filling
- 2 cups raspberries, fresh or frozen
- 1/2 cup sugar
- 2 tablespoons corn starch
- 2 teaspoons lemon juice
Egg Wash
- 1 large egg with a splash of water
Vanilla Icing
- 1 cup powdered sugar
- 2 to 3 tablespoons milk
- 1/2 teaspoon vanilla extract
- red sprinkles
Instructions
- Prepare Raspberry Filling: In a medium saucepan over medium heat, combine raspberries, sugar, corn starch, and lemon juice. Stir occasionally until the mixture boils and thickens. Remove from heat and transfer to a heat-safe bowl. Place in the freezer and stir every 10 minutes until cooled.
- Roll and Cut Dough: On a lightly floured surface, roll out pie crust into a rectangle. Use a pizza cutter and ruler to cut into 3 by 4½ inches rectangles, totaling 12 rectangles.
- Assemble Pop Tarts: Place one rectangle on a baking sheet lined with parchment or silicone mat. Lightly brush with egg wash. Add 1 to 1½ tablespoons of cooled raspberry filling at the center, then cover with another rectangle. Crimp edges with a fork to seal. Repeat for all.
- Freeze Before Baking: Place assembled pop tarts in the freezer while preheating the oven to 400 degrees Fahrenheit.
- Prepare for Baking: Once oven is preheated, lightly poke holes on top of each pop tart using a toothpick or knife. Brush tops with egg wash.
- Bake: Bake in the preheated oven for 20 minutes or until golden brown.
- Make Vanilla Icing: While pop tarts cool, whisk powdered sugar, 2 tablespoons milk, and vanilla extract until slightly thick but spreadable. Add milk by half tablespoon increments to achieve the ideal consistency.
- Ice and Decorate: When pop tarts are completely cooled, drizzle vanilla icing over the centers, top with red sprinkles, and let the icing harden before serving.
Notes
- If making your own pie dough, chill it for at least 40 minutes wrapped in plastic wrap before rolling.
- If using storebought pie crust, follow package instructions for temperature before rolling.
- Cut dough into 3×4½ inch rectangles using a pizza cutter and ruler for uniform size.
- The raspberry filling can be made the night before to save time.
- Allow pop tarts to fully cool before adding icing to prevent melting.
- Store leftover pop tarts in an airtight container in the refrigerator for up to 3 days.
Nutrition
- Serving Size: 1 pop tart
- Calories: 320 kcal
- Sugar: 18 g
- Sodium: 220 mg
- Fat: 14 g
- Saturated Fat: 4 g
- Unsaturated Fat: 8 g
- Trans Fat: 0 g
- Carbohydrates: 42 g
- Fiber: 3 g
- Protein: 3 g
- Cholesterol: 40 mg

