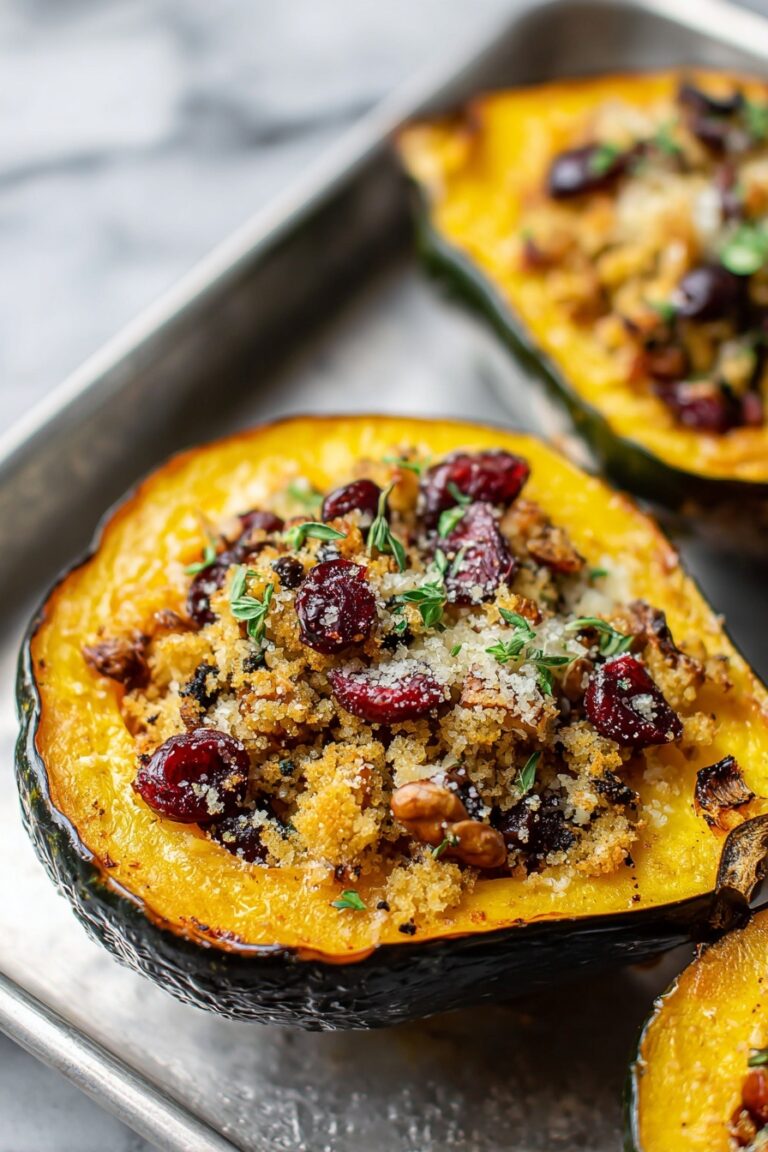
Halloween Jack Skellington Ricotta Olive Tarts Recipe
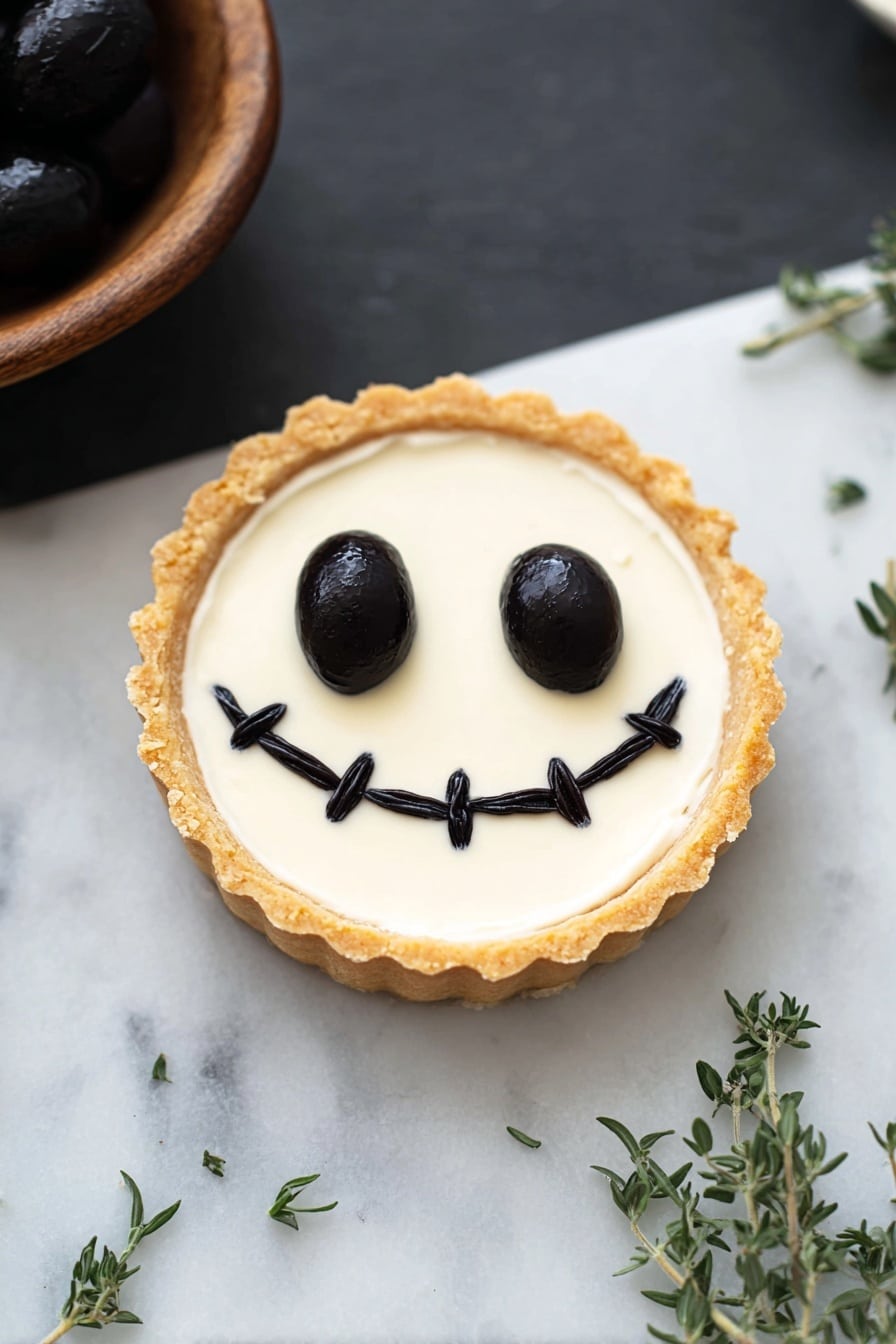
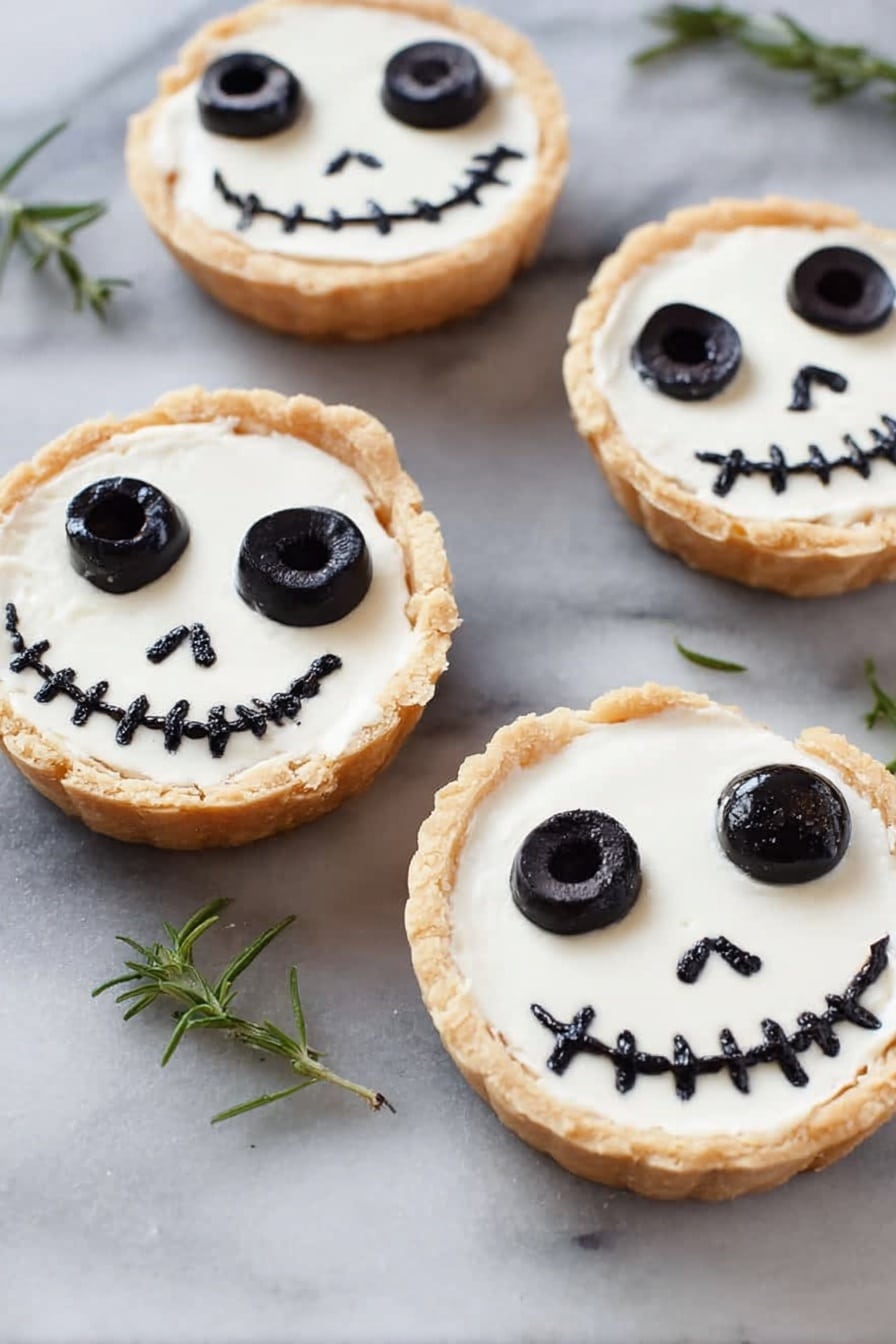
If you love spooky, savory treats that bring a bit of whimsy to your Halloween party, you’re going to adore this Halloween Jack Skellington Ricotta Olive Tarts Recipe. I first made these for a friends’ Halloween gathering, and the reaction was priceless—everyone loved how festive and delicious they were, plus they’re surprisingly easy to whip up. The ricotta filling is silky and comforting, while the black olives and sun-dried tomatoes create that iconic Jack Skellington grin and eyes you just can’t resist. Stick with me, and I’ll guide you through every buttery, cheesy, spooky bite!
Why This Recipe Works
- Deliciously Balanced Flavors: The creamy ricotta and tangy yogurt play perfectly against the salty olives and aromatic thyme.
- Festive Presentation: Jack Skellington’s face made with olives and sun-dried tomatoes adds that fun Halloween vibe that’s a sure conversation starter.
- Gluten-Free Crust That Holds Up: Using a mix of sweet rice, millet, and oat flours creates a sturdy, flaky crust that doesn’t crumble under the filling.
- Versatile and Crowd-Friendly: These mini tarts are perfect finger foods whether you’re hosting Halloween or just craving savory treats.
Ingredients & Why They Work
Each ingredient in the Halloween Jack Skellington Ricotta Olive Tarts Recipe plays a role in creating that perfect blend of texture and flavor. The gluten-free flours keep the crust tender but robust, while the ricotta and Greek yogurt filling stays creamy without being too heavy. Using whole, flavorful black olives and fresh thyme ensures every bite is fresh and aromatic, and the parmesan adds that subtle nutty punch.
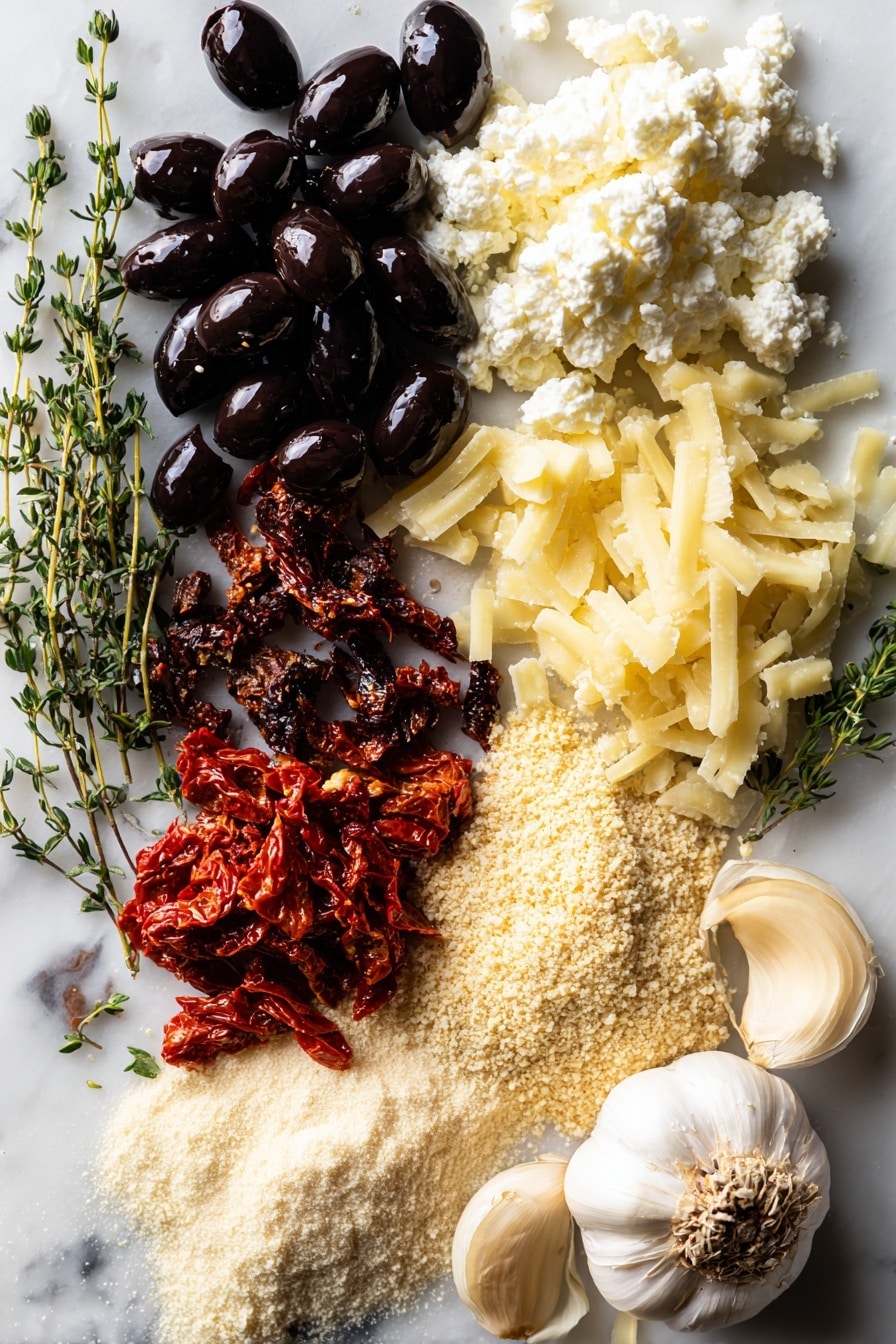
- Sweet rice flour: Provides a slightly sticky texture, perfect for gluten-free crusts to bind nicely.
- Millet flour: Adds mild nuttiness and helps achieve a tender crumb.
- Gluten-free oat flour: I grind my own because fresh oat flour has a wonderful, slightly sweet flavor that makes all the difference.
- Tapioca starch: Gives elasticity, helping the crust hold together without being brittle.
- Unsalted butter: Key for that flaky, rich crust; cold butter ensures nice layers.
- Ice water: The secret to preventing the dough from warming up while you mix, keeping it flaky.
- Black olives: Use firm, glossy olives that slice well for those signature Jack Skellington features.
- Sun-dried tomatoes packed in oil: Adds a sweet, tangy pop that complements the olives.
- Fresh thyme: The herbaceous notes elevate the flavor and keep it from feeling too heavy.
- Parmesan cheese: Adds a savory depth and slight crunchiness when baked.
- Ricotta cheese: The star of the filling—creamy, mild, and perfect for holding the tarts together.
- Greek yogurt: Balances richness with a touch of tang and makes the filling silky.
- Egg whites: Help set the filling without adding heaviness.
- Garlic: Just the right amount gives a subtle savory background note.
- Kosher salt: Enhances all the flavors without overpowering.
Make It Your Way
One of my favorite parts about the Halloween Jack Skellington Ricotta Olive Tarts Recipe is how easy it is to tweak based on your taste and pantry goodies. Don’t hesitate to swap out herbs or experiment with different olives. I’ve found that personalizing these tarts allows every person at the party to find their version of yum.
- Variation: I sometimes add chopped roasted red peppers for an extra burst of sweetness and color—your tarts will still look spooky but have a bit more zing.
- Dietary swap: If you’re avoiding dairy, try swapping ricotta for a plant-based alternative and replacing parmesan with nutritional yeast for that umami hit.
- Herb twists: Aside from thyme, rosemary or sage also pair beautifully with the filling and can give you a fresh new flavor profile.
- Crust options: If gluten-free isn’t a necessity, you can easily swap the crust with traditional all-purpose flour or try a store-bought gluten-free crust to save time.
Step-by-Step: How I Make Halloween Jack Skellington Ricotta Olive Tarts Recipe
Step 1: Mixing the Perfect Gluten-Free Crust
Start by whisking together all your dry flours and salt in a big bowl—it helps evenly distribute the flavors and makes sure the salt isn’t concentrated in one spot. Then toss in the cold butter pieces and get your hands in there! Break up the butter until the chunks are pea-sized; this little texture surprise is what gives you those flaky layers that everyone raves about. Slowly add the ice water, a tablespoon at a time, mixing gently by hand. Stop when the dough just comes together when you pinch it. Resist the urge to overwork it—this crust likes to be kept light and cool. Chill those dough discs wrapped in plastic for at least 30 minutes before rolling out.
Step 2: Rolling & Pressing the Crust in Tarts
Preheat your oven to 400°F. I like rolling the dough between two sheets of parchment sprinkled with millet flour—it keeps the gluten-free dough from sticking and tears less than regular flour here. Roll each piece slightly larger than your mini tart pans, then gently flip the dough into the pan with the top parchment still on. Peel off the parchment carefully and press the dough into every nook and cranny of the tartlet pan with your fingertips. If you only have a 4-cup tart pan like I do, work in batches to keep things neat and manageable. This method really helps keep the crusts uniform and prevents breaking.
Step 3: Preparing the Jack Skellington Filling Details
Time for the fun part—cutting your olives! I use a sharp paring knife to slice six black olives into ultra-thin strips for the mouth, and slice additional olives into oval shapes for the noses. This takes a little patience, but trust me, those delicate details are what bring Jack’s face to life. After chopping a handful of olives to scatter throughout the tarts, layer on generous strips of julienned sun-dried tomatoes and sprinkle fresh thyme leaves and parmesan cheese to build flavor. Then bake the tarts for 12 minutes to get the crust lightly cooked before adding the creamy filling.
Step 4: Mixing and Filling with the Ricotta Mixture
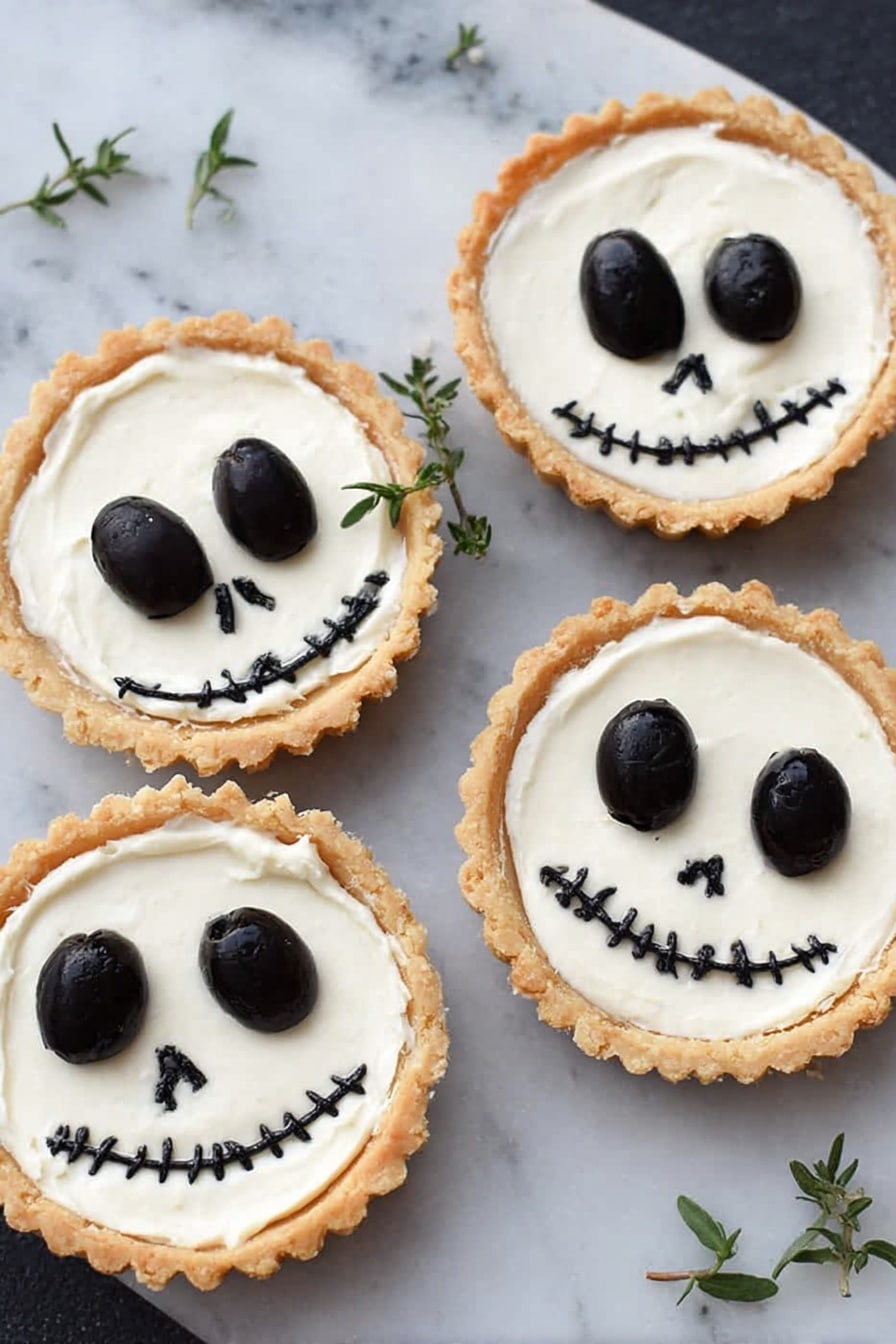
While the crusts bake, whisk together the ricotta, Greek yogurt, egg whites, minced garlic, and salt until silky smooth. Once your crusts come out, carefully spoon the ricotta filling right to the top of each tart. Now it’s time for the show: decorate with two whole black olives as eyes and position the small olive ovals for the nose. Use your olive strips to form a criss-cross mouth that screams Jack Skellington style. I find chopsticks super handy for placing those tiny, delicate pieces without squishing them.
Step 5: Final Bake and Serve
Bake the filled tarts at 400°F for 20-25 minutes until the ricotta filling is set but still tender. I always start checking around 15 minutes because tart sizes vary and I want that creamy texture without drying out. Serve these warm for the ultimate melt-in-your-mouth experience. If you happen to have leftovers (which is rare!), just reheat them for about 7 minutes at 400°F to bring back that fresh-out-of-the-oven feeling.
Tips from My Kitchen
- Keep Dough Cold: I learned the hard way that warm dough is sticky and tough to work with. Chilling the dough between rolling batches makes it so much easier.
- Perfecting Olive Slices: Use a very sharp paring knife or even dental floss for those paper-thin olive strips—it really helps keep the mouth delicate and neat.
- Watch That Baking Time: Because oven temperatures vary, start checking the ricotta filling early. You want it just set but still creamy.
- Use Chopsticks for Placement: I swear by chopsticks for positioning those tiny olive pieces precisely—no smushing required!
How to Serve Halloween Jack Skellington Ricotta Olive Tarts Recipe
Garnishes
I love garnishing these spooky tarts with a few fresh thyme sprigs or a tiny drizzle of olive oil right before serving to give a little shine and fresh herb aroma. Sometimes I’ll add a sprinkle of smoked paprika on the ricotta for a subtle smoky undertone that’s unexpected and delicious. It doesn’t just add flavor—it makes the tarts pop on the plate.
Side Dishes
These tarts pair beautifully with a crisp green salad with vinaigrette, or roasted seasonal veggies like brussels sprouts with balsamic glaze. For my Halloween parties, I often serve them alongside a rich butternut squash soup to keep things cozy and festive. The creaminess works well with sharper, brighter sides.
Creative Ways to Present
When hosting, I like arranging these Halloween Jack Skellington Ricotta Olive Tarts Recipe on a rustic black serving platter dusted lightly with edible Halloween confetti or chopped herbs for that extra spooky touch. Also, placing them among some mini pumpkin decor or on elevated stands gives a dramatic presentation that guests always comment on. Kids especially love the “Jack faces” and sometimes I let them create their own olive “expressions” for interactive fun.
Make Ahead and Storage
Storing Leftovers
I store leftover tarts in an airtight container in the fridge for up to 3 days. Make sure they cool completely before sealing to keep the crust from getting soggy. When packed well, the flavors meld wonderfully overnight, so sometimes I find they taste even better the next day!
Freezing
If you want to prep ahead for a party, these tarts freeze beautifully. Bake partially (after filling) and cool completely, then freeze in a single layer on a baking sheet before transferring to a freezer-safe container. When you’re ready, bake straight from frozen, adding a few extra minutes to the bake time. Just beware that freezing might soften the crust slightly, but the flavor remains spot-on.
Reheating
To reheat, I preheat my oven to 400°F and warm the tarts for about 7 minutes—this crisps up the crust again and warms the filling perfectly without drying it. Avoid the microwave if you can; it tends to make the crust soggy and the filling rubbery.
FAQs
-
Can I make the Halloween Jack Skellington Ricotta Olive Tarts Recipe ahead of time?
Absolutely! You can prepare the crust dough a day ahead and keep it refrigerated, or even assemble the tarts and store them in the fridge. Just add the final bake step on the day you’re serving to make sure they’re fresh and warm.
-
What if I don’t have gluten-free flours? Can I use regular flour?
Yes! Simply swap the gluten-free flours for all-purpose flour in the same measurement. The texture will be slightly different—fluffier and less crumbly—but the tarts will still be delicious and hold their shape.
-
Can I substitute the black olives with another type?
You can use Kalamata or green olives for a different flavor and color contrast, but keep in mind that black olives give the most iconic Jack Skellington look. Just make sure to slice them thinly to create clear facial features.
-
How do I know when the ricotta filling is fully set?
The filling will lose its glossy appearance and be firm to gentle touch but still soft inside—it shouldn’t wobble when you move the tart gently. Start checking around 15 minutes to avoid overbaking.
Final Thoughts
From the first time I made these Halloween Jack Skellington Ricotta Olive Tarts Recipe, they became my go-to savory treat for fall gatherings. They’re show-stoppers that surprise your guests with their sophistication and playfulness. The best part? They’re comforting, easy to personalize, and delightful to eat. I can’t wait for you to try making them—they’re perfect if you want to impress without stress. So grab your apron, roll up your sleeves, and let’s bring a little spooky fun to your kitchen!
Print
Halloween Jack Skellington Ricotta Olive Tarts Recipe
- Prep Time: 45 minutes
- Cook Time: 37 minutes
- Total Time: 1 hour 22 minutes
- Yield: 8 tarts
- Category: Appetizer
- Method: Baking
- Cuisine: American
- Diet: Gluten Free
Description
Halloween Jack Skellington Ricotta Olive Tarts are delightful gluten-free mini tartlets featuring a crisp, flaky crust filled with a creamy ricotta mixture and topped with black olives and sun-dried tomatoes to create a spooky Jack Skellington face. Perfect for festive occasions, these savory tarts combine unique flavors and charming presentation for a memorable appetizer or snack.
Ingredients
Gluten-Free Tart Crust
- ½ cup sweet rice flour
- ¼ cup millet flour
- ⅓ cup gluten-free oat flour
- 3 tablespoons tapioca flour
- ¼ teaspoon kosher salt
- 8 tablespoons cold unsalted butter, cut into tablespoon-sized pieces
- 5-7 tablespoons ice water
Filling
- 1 can black olives
- 3-4 tablespoons julienned sun-dried tomatoes packed in oil
- 2-3 teaspoons fresh thyme leaves
- 3 tablespoons freshly grated parmesan cheese
- 1½ cups ricotta cheese
- ¼ cup + 2 tablespoons Greek yogurt
- 3 egg whites
- 3 cloves garlic, minced
- ½ teaspoon kosher salt
Instructions
- Prepare the crust: Whisk together the sweet rice flour, millet flour, gluten-free oat flour, tapioca flour, and kosher salt in a large bowl. Add cold butter pieces and mix with your hands, breaking up the butter until the largest pieces are about the size of a pea. Gradually add ice water one tablespoon at a time, mixing each time until the dough holds together when pinched.
- Chill the dough: Divide the dough into 6 to 8 pieces, roll each into a ball and flatten into a disc, then wrap with plastic wrap. Refrigerate for 30 minutes.
- Preheat oven and roll out dough: Preheat the oven to 400°F. Roll out each dough disc between two pieces of parchment paper dusted with millet flour until it is 1 inch larger than your tart pan all around. Peel off one parchment and flip the crust into the tart pan, peel off second parchment and press the dough gently into the pan. Repeat for all tartlets.
- Prepare the filling toppings: Thinly slice 6 black olives into very thin strips for the mouth, and cut 12-14 ovals for the nose. Chop 3-4 tablespoons of black olives and set aside.
- Assemble tart bases: Distribute chopped olives evenly among the tart shells, top each with 3-5 julienned sun-dried tomato strips, sprinkle about ¼ teaspoon fresh thyme leaves, and divide parmesan cheese over each tart. Bake for 12 minutes until crust is lightly cooked.
- Mix the ricotta filling: Whisk together ricotta, Greek yogurt, egg whites, minced garlic, and kosher salt until smooth.
- Fill and decorate the tarts: Remove tart shells from oven and fill each to the top with the ricotta mixture. Place two whole olives for eyes and two small olive ovals for the nose on each tart. Use the thin olive strips to create a criss-cross mouth shape delicately using chopsticks or tweezers.
- Bake the filled tarts: Bake for 20-25 minutes or until the ricotta filling is set. Check at 15 minutes depending on tart size. Serve warm.
- Reheat instructions: To reheat, bake at 400°F for 7 minutes before serving.
Notes
- For best results, chill the dough thoroughly before rolling to prevent sticking.
- If gluten-free oat flour is unavailable, grind rolled oats in a food processor to make your own.
- Use cold butter to achieve a flaky crust.
- The thin olive slices for the mouth are easier to place with chopsticks or tweezers.
- Check the ricotta filling for doneness starting at 15 minutes to avoid overbaking.
- The tart pans should be about 3-4 inches diameter for appropriate size tarts.
- Store leftover tarts in the refrigerator and reheat as per instructions for best flavor.
Nutrition
- Serving Size: 1 tart
- Calories: 180 kcal
- Sugar: 1 g
- Sodium: 220 mg
- Fat: 12 g
- Saturated Fat: 6 g
- Unsaturated Fat: 4 g
- Trans Fat: 0 g
- Carbohydrates: 12 g
- Fiber: 1 g
- Protein: 6 g
- Cholesterol: 30 mg

