Marshmallow Ghosts: Easy Halloween Treats Recipe
Alright, let me share with you one of my all-time favorite seasonal treats that’s as fun to make as it is to eat—my Marshmallow Ghosts: Easy Halloween Treats Recipe. These little ghostly goodies are delightfully simple and bring such a whimsical, festive vibe to any Halloween gathering. Trust me, you’ll love how this recipe makes decorating fun and simple, even if you’re not a “crafty” baker. Stick around—I’ll walk you through every step and some tricks to make these marshmallow ghosts pop with personality!
Why This Recipe Works
- Simplicity that Wows: With just a few everyday ingredients, you can create something that looks like it took hours of work.
- Fun & Interactive: It’s a perfect project to get the kids involved with no mess or baking required.
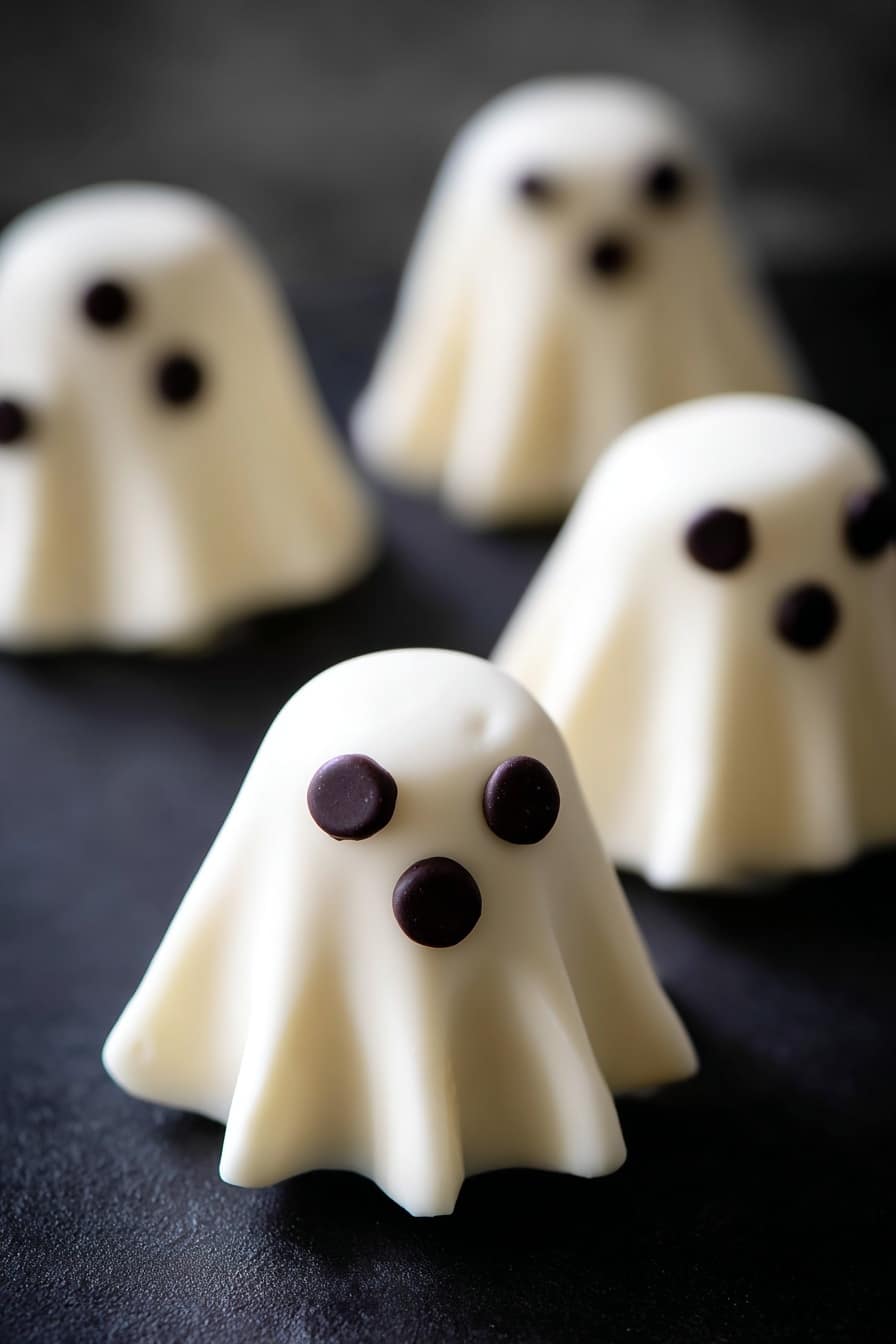
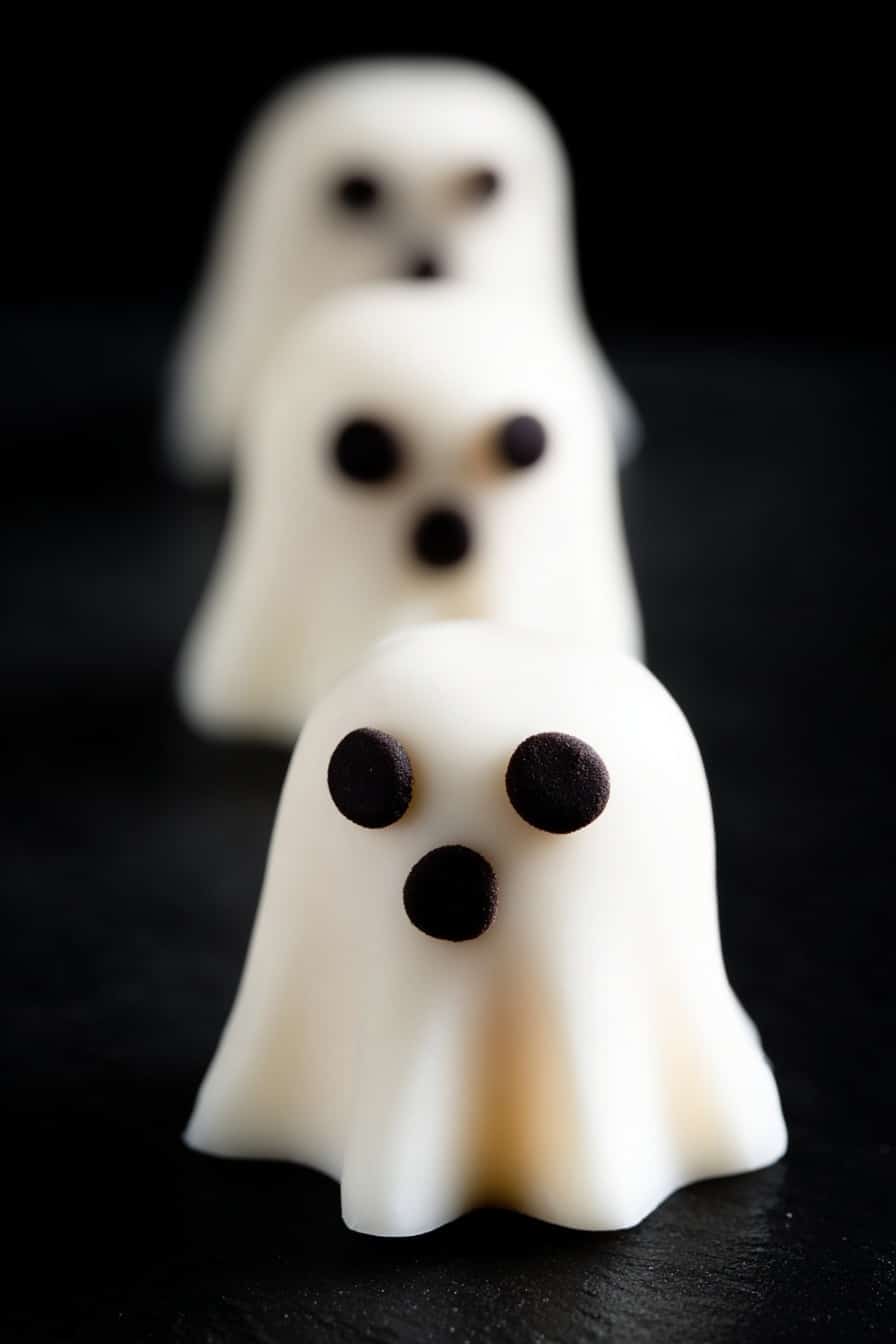
- Perfect Halloween Vibe: The fondant and marshmallow combo creates a ghostly texture that’s soft, sweet, and visually adorable.
- Customizable and Creative: You can tweak eyes, mouths, or even add other little details based on your creativity or what you have on hand.
Ingredients & Why They Work
These ingredients are all about simplicity and contrast. The fondant wraps the marshmallows just enough to give each ghost a defined shape, while the different sizes of chocolate chips add character to their faces. Pro tip: pick good-quality white chocolate—it melts smoothly and keeps everything nicely together.
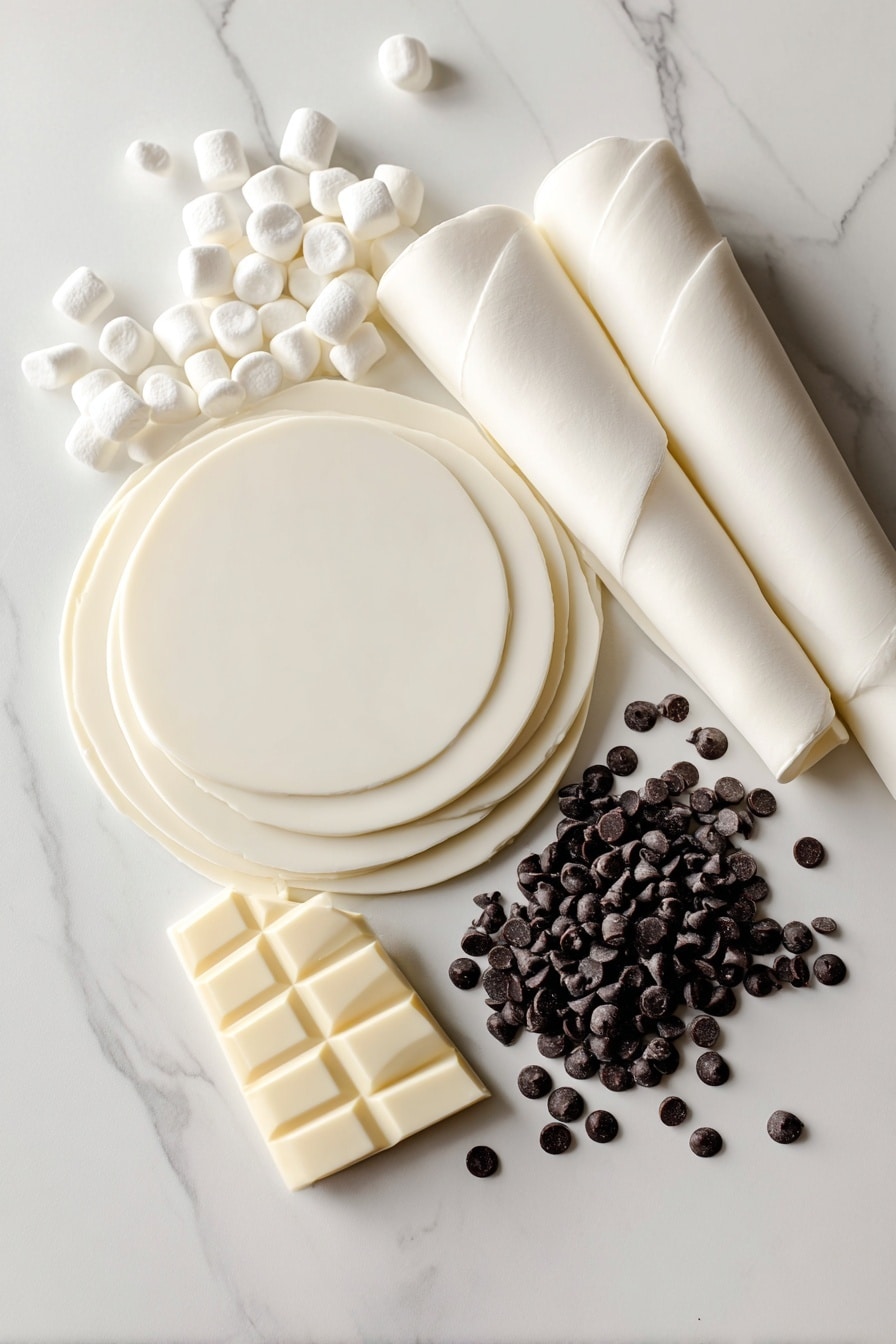
- Fondant: Acts like a stretchy ghostly cape; go for pliable fondant so it doesn’t tear as you shape around the marshmallows.
- Marshmallows: The perfect fluffy center; standard-sized mallows work best to get that ghostly puff.
- Mini chocolate chips: These tiny chips make adorable eyes, adding expression with minimal fuss.
- Standard chocolate chips: Ideal for mouths; their size gives a nice contrast to the mini chips.
- White chocolate: Key for “glueing” everything together—plus, it keeps the palette nice and light so the ghosts look the part.
Make It Your Way
I love putting my little spin on these marshmallow ghosts—sometimes I add tiny edible glitter on the fondant for a magical shimmer or swap out chocolate chips for colored candy eyes when I’m feeling playful. Don’t hesitate to personalize this recipe; your creativity is your best tool here!
- Variation: One year, I swapped out white chocolate for a tinted candy melt to give the ghosts a spooky hue—turned out so fun and colorful!
- Dietary Adaptations: You can use dairy-free white chocolate or vegan marshmallows to keep it friendly for everyone at your party.
- Seasonal Twists: Add tiny edible pumpkins or bats beside your ghosts for a full Halloween vibe on your platter.
Step-by-Step: How I Make Marshmallow Ghosts: Easy Halloween Treats Recipe
Step 1: Prepare Your Workspace and Melt Your White Chocolate
Gather all your ingredients and set them out on a clean surface—trust me, having everything at hand makes assembly a breeze. Melt the white chocolate gently by placing a bowl over simmering water or in a warm water bath. Keep it warm to prevent it from hardening too soon—this is your glue, so it needs to stay nice and runny while you work.
Step 2: Roll and Cut the Fondant
Roll out your fondant to about 2 to 3 millimeters thick—thin enough so it drapes well but thick enough to hold some shape. Use a medium-sized round cutter that’s just the right size to cover each marshmallow with a little frill around the edges. Tip: The cutter’s diameter should roughly equal the marshmallow’s diameter plus twice its height, so it wraps perfectly without too much excess.
Step 3: Assemble the Marshmallow Ghosts
Place a dab of warm white chocolate in the center of the fondant circle, then set a marshmallow right on top. Flip the whole thing over gently so the fondant wraps around the marshmallow like a ghostly cape. Adjust the edges with your fingers to spread out the “frills” evenly and make sure the marshmallow is fully covered underneath. This step gives the marshmallow its soft, ghostly shape.
Step 4: Add the Eyes and Mouth
With a toothpick or skewer, dot two tiny drops of the same melted white chocolate on the marshmallow’s face area for the eyes, then quickly press a mini chocolate chip on each dot before it sets. Repeat for the mouth, this time using the standard chocolate chip. It’s like giving your little marshmallow pals their own personality—sometimes playful, sometimes spooky!
Step 5: Repeat and Store
Keep going with the rest of your marshmallows following the same steps until you have a whole ghostly crew! Store them in an airtight container away from humidity to keep the fondant from getting sticky. They should stay fresh and ready to spook delightfully for a few days.
Tips from My Kitchen
- Keep White Chocolate Warm: I learned early on that letting white chocolate cool too quickly makes it hard to work with, so I always keep it in a warm water bath throughout assembly.
- Choosing the Right Cutter Size: Measuring the marshmallow beforehand helps avoid wasted fondant or awkwardly shaped ghosts.
- Work Quickly with Face Details: The chocolate sets fast, so prepare your eyes and mouth chips right next to your workspace to add them before the chocolate hardens.
- Prevent Sticky Fondant: Store completed ghosts in a cool, dry place and avoid humidity to keep their delicate fondant texture perfect.
How to Serve Marshmallow Ghosts: Easy Halloween Treats Recipe
Garnishes
I usually keep garnishes simple because the marshmallow ghosts shine on their own. A light dusting of edible glitter or a sprinkle of black cocoa powder “fog” around the serving plate adds subtle magic without taking away from those cute eyes and smiles. Sometimes I’ll throw in a few candy pumpkins or gumdrop spiders for a full Halloween spread vibe.
Side Dishes
I love pairing these with warm drinks like apple cider or hot chocolate because that contrast of warm and gooey with cold marshmallow sweetness is simply irresistible during the spooky season. They also go great alongside freshly baked pumpkin muffins or cinnamon sugar cookies for a delightful, cozy Halloween treat combo.
Creative Ways to Present
One year, I skewered the marshmallow ghosts on sticks and arranged them standing in small cauldrons filled with candy corn—it was a huge hit at my Halloween party! You can also place them on little ghost-themed cupcake liners or nestle them on top of frosted cupcakes for extra cuteness. Play around with layering ghost sizes or adding edible eyes that glow in the dark for an extra wow factor.
Make Ahead and Storage
Storing Leftovers
I keep leftover marshmallow ghosts in an airtight container lined with parchment paper and store them in a cool, dry spot—not the fridge, as humidity can make the fondant sticky. This method keeps them fresh and looking good for several days up to a week.
Freezing
Freezing these little treats? I tried it once, but the fondant tends to lose its delicate texture after thawing and can get a bit soggy. I’d recommend making just enough for a few days so you get them at their freshest.
Reheating
Because these are no-bake treats, reheating isn’t really needed. If your white chocolate edges have hardened, gently warming them in a bowl placed over hot water for a few seconds can soften the glue points a bit, but be careful not to melt the marshmallows!
FAQs
-
Can I use colored fondant for Marshmallow Ghosts?
Absolutely! Using white fondant creates the classic ghost look, but if you want to customize and get creative, pastel or even glow-in-the-dark fondant can add extra flair. Just make sure the fondant is pliable enough to wrap smoothly around the marshmallows.
-
What’s the best way to melt white chocolate for this recipe?
The gentle way is best: use a double boiler or place a heatproof bowl over simmering water, stirring gently until smooth. Keeping the white chocolate warm in a bowl set in hot water during assembly helps keep it melted and ready to use without burning.
-
How long can I store Marshmallow Ghosts before they go bad?
Stored properly in an airtight container away from heat and humidity, these treats will stay fresh for up to 5 days. After that, the fondant might start to sweat or soften too much, which can affect texture but not necessarily taste.
-
Can I make these without fondant?
The fondant is key for the ghostly cape look in this recipe, so skipping it would change the texture and look quite a bit. However, you could get creative using white chocolate coatings or marshmallow fluff, but the assembly would be trickier and less neat.
-
What’s the trick to making sure the fondant doesn’t tear?
Rolling the fondant evenly to the right thickness (2-3mm) and working gently as you wrap it around the marshmallow really helps. If it starts cracking, letting it warm up a touch before rolling or kneading it a bit can improve elasticity.
Final Thoughts
Honestly, this Marshmallow Ghosts: Easy Halloween Treats Recipe has become a staple in my Halloween tradition—not just because they’re adorable and delicious, but because making them feels like a little celebration in itself. It gives me a chance to slow down, get creative, and share something whimsical with friends and family. I’d encourage you to try this out, even if you’re new to decorating or short on time. You’ll be amazed at how such a simple recipe can bring so much joy and festive spirit to your Halloween. Have fun haunting your kitchen!
Print
Marshmallow Ghosts: Easy Halloween Treats Recipe
- Prep Time: 1 hour
- Cook Time: 0 minutes
- Total Time: 1 hour
- Yield: 10 marshmallow ghosts
- Category: Snack
- Method: No-Cook
- Cuisine: American
Description
Create spooky and adorable Marshmallow Ghosts with fondant, marshmallows, white chocolate, and chocolate chips. These easy Halloween treats are perfect for a festive party and simple to assemble with minimal ingredients.
Ingredients
Main Ingredients
- 300 g fondant
- 10 marshmallows
- 20 mini chocolate chips
- 10 standard chocolate chips
- White chocolate (quantity as needed for melting and assembling)
Instructions
- Gather Ingredients: Collect all the ingredients including fondant, marshmallows, mini and standard chocolate chips, and white chocolate. If you are making fondant from scratch, prepare it beforehand.
- Melt White Chocolate: Melt the white chocolate in a small bowl. Keep it warm by placing that bowl over a pot of hot water or in another bowl filled with hot water to prevent it from hardening as you assemble the ghosts.
- Roll Fondant: Roll out the fondant to about 2mm to 3mm thickness. Use a medium-sized round cutter to cut fondant circles.
- Attach Marshmallow: Apply some melted white chocolate in the center of each fondant circle then place one marshmallow on the chocolate in the center.
- Shape Ghosts: Flip the marshmallow and fondant over. Adjust and fringe the edges of the fondant so it fully covers the marshmallow and has a ghostly frilly appearance.
- Add Eyes: Use a skewer or toothpick to put two small dots of white chocolate on the marshmallow sides as eyes. Quickly attach two mini chocolate chips before the chocolate sets.
- Add Mouth: Use the same method to add a mouth by applying melted chocolate and attaching one standard chocolate chip.
- Repeat: Repeat the assembly process for remaining marshmallows to create the full batch of marshmallow ghosts.
- Store: Place completed marshmallow ghosts in an airtight container and store them away from humidity until serving.
Notes
- Keep the melted white chocolate warm by placing the bowl in a tray or larger bowl filled with hot water to prevent it from hardening while assembling. Refresh the hot water as needed.
- White chocolate is recommended because dark or milk chocolate contrasts too much with the white fondant and marshmallows. Thinner fondant cutouts may reveal the chocolate underneath.
- Select a cutter size where the diameter equals the diameter of the marshmallow plus twice its height to ensure full coverage with minimal excess fondant.
Nutrition
- Serving Size: 1 marshmallow ghost
- Calories: 100 kcal
- Sugar: 15 g
- Sodium: 30 mg
- Fat: 2 g
- Saturated Fat: 1.5 g
- Unsaturated Fat: 0.5 g
- Trans Fat: 0 g
- Carbohydrates: 20 g
- Fiber: 0 g
- Protein: 1 g
- Cholesterol: 0 mg

