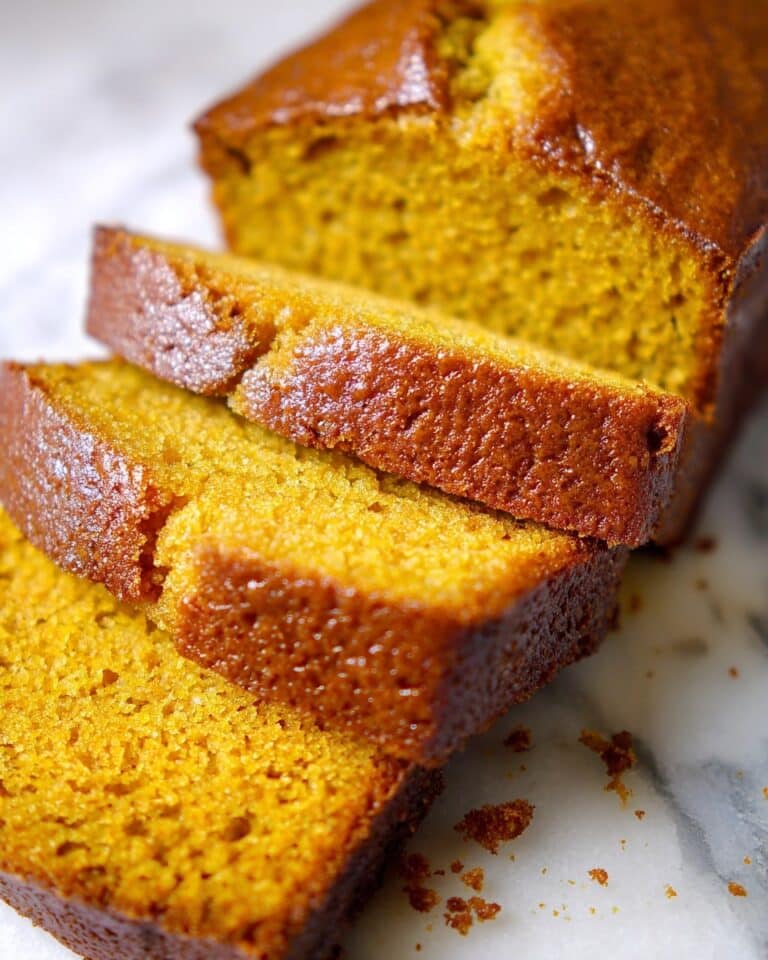
Pineapple Angel Food Cake Recipe
Let me tell you, this Pineapple Angel Food Cake Recipe is one of those desserts that feels like sunshine on a plate. Light, fluffy, with just the right amount of tropical sweetness, it’s the perfect treat for summer get-togethers or when you want something that’s sweet but not too heavy. I love how easy it comes together too—using simple ingredients and minimal prep time means you spend less time fussing in the kitchen and more time enjoying that amazing cake.
I first stumbled on this recipe when I was craving something fresh and airy but with a little twist—I’m talking about that burst of pineapple that brightens every bite. Whether you’re serving it at a casual Sunday brunch or a family barbecue, this Pineapple Angel Food Cake Recipe delivers that light, fruity vibe that everyone will ask for seconds on. Trust me, it’s absolutely worth trying!
Why This Recipe Works
- Light & Fluffy Texture: The angel food cake mix creates a spongy base that’s delightfully airy, perfect for balancing the juicy pineapple.
- Minimal Fuss: No complicated steps or fancy gadgets—just mix, bake, and top with whipped topping for a crowd-pleaser.
- Tropical Flavor Boost: Using crushed pineapple with its juice adds moisture and a vibrant flavor that makes this cake unforgettable.
- Versatile Presentation: Whether dressed up with cherries or pineapple chunks, it looks gorgeous and inviting.
Ingredients & Why They Work
The ingredients in this Pineapple Angel Food Cake Recipe come together in such an effortless way, creating a dessert that’s both light and refreshing. These staples are easy to find and work harmoniously to give you a moist yet airy cake with that signature tropical sweetness.
- Angel Food Cake Mix: This is the base that gives the cake its fluffy, sponge-like texture. I recommend Betty Crocker for consistent results.
- Crushed Pineapple (with juice): Adds moisture and that signature pineapple flavor—don’t drain it, the juice is key!
- Whipped Topping: The cool, creamy layer that elevates the cake with a smooth finish. Thawed from frozen works perfectly.
- Pineapple Chunks or Maraschino Cherries (optional): For garnish, these add color and an extra pop of fruity sweetness that makes the cake look festive.
Make It Your Way
This recipe is wonderfully adaptable. I like to switch up the garnish depending on the season or occasion — sometimes fresh pineapple chunks, other times bright maraschino cherries. Feel free to add a splash of coconut flakes or a drizzle of caramel sauce if you’re in the mood for a tropical dessert upgrade.
- Variation: I once swapped crushed pineapple for crushed mango, which gave it a slightly different but equally delicious tropical twist.
- Dietary Modifications: You can use sugar-free whipped topping or a dairy-free version if you’re catering to specific dietary needs without losing that creamy layer.
- Seasonal Change: In winter, I love adding a sprinkle of toasted nuts on top for crunch.
Step-by-Step: How I Make Pineapple Angel Food Cake Recipe
Step 1: Mix the Magic
Start by preheating your oven to 350°F (175°C). In a medium bowl, I like to combine the angel food cake mix and the entire can of crushed pineapple with its juice. Using a handheld mixer on medium low, mix just until it’s nicely combined—don’t worry if you see a few small lumps; that’s completely normal and won’t affect the texture.
Step 2: Bake to Perfection
Pour the batter into an ungreased 9×13 inch baking dish. Spread it evenly with a spatula, then pop it in the oven for about 30 minutes. You’ll know it’s done when the top is a lovely golden brown and a toothpick inserted in the center comes out clean. Resist the urge to open the oven too often—this helps keep the cake light and airy!
Step 3: Cool and Top
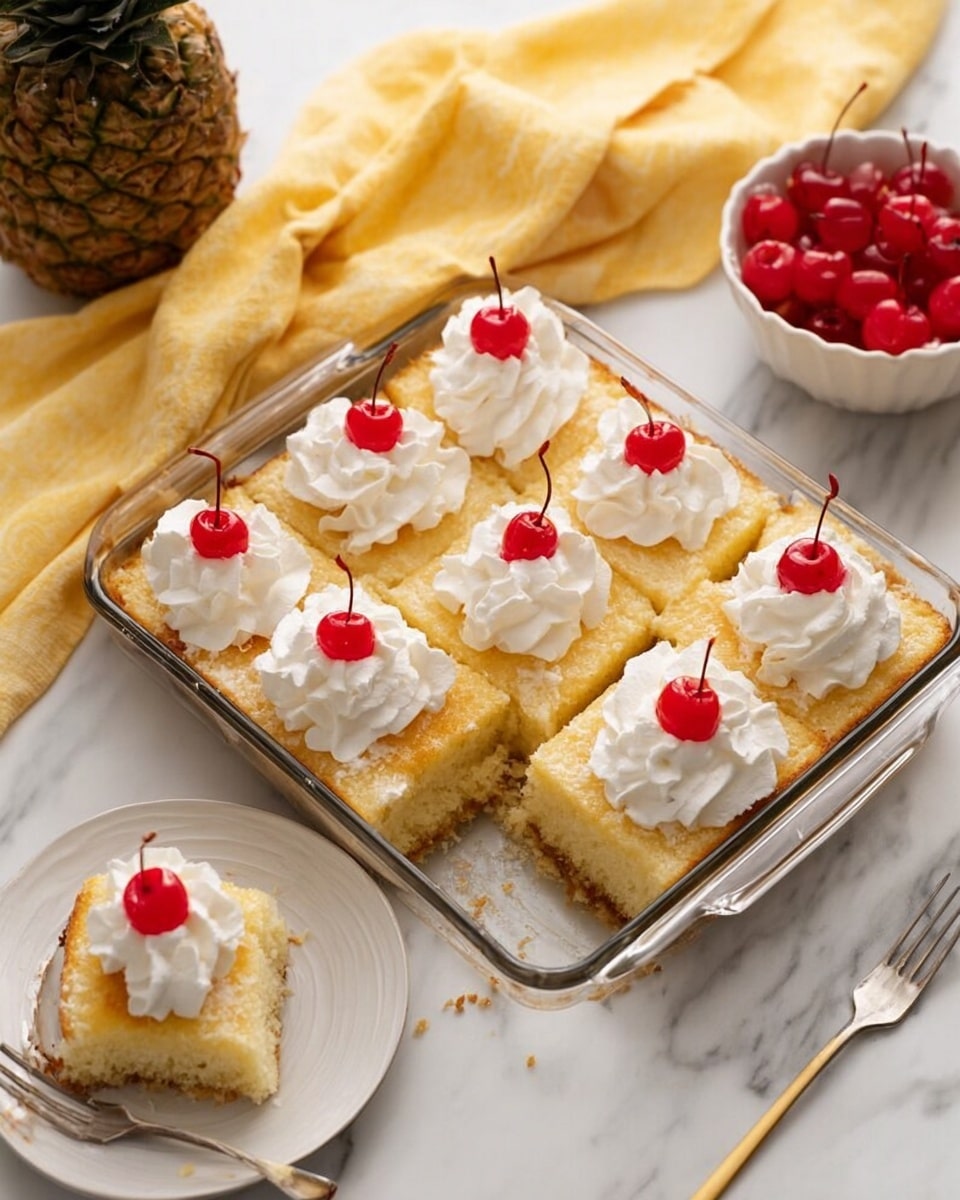
After baking, let the cake cool completely—about an hour is perfect. This step is crucial because you want the whipped topping to sit beautifully on a cool base instead of melting into it. Once cooled, spread the thawed whipped topping evenly over the top using an offset spatula for a smooth finish.
Step 4: Garnish and Serve
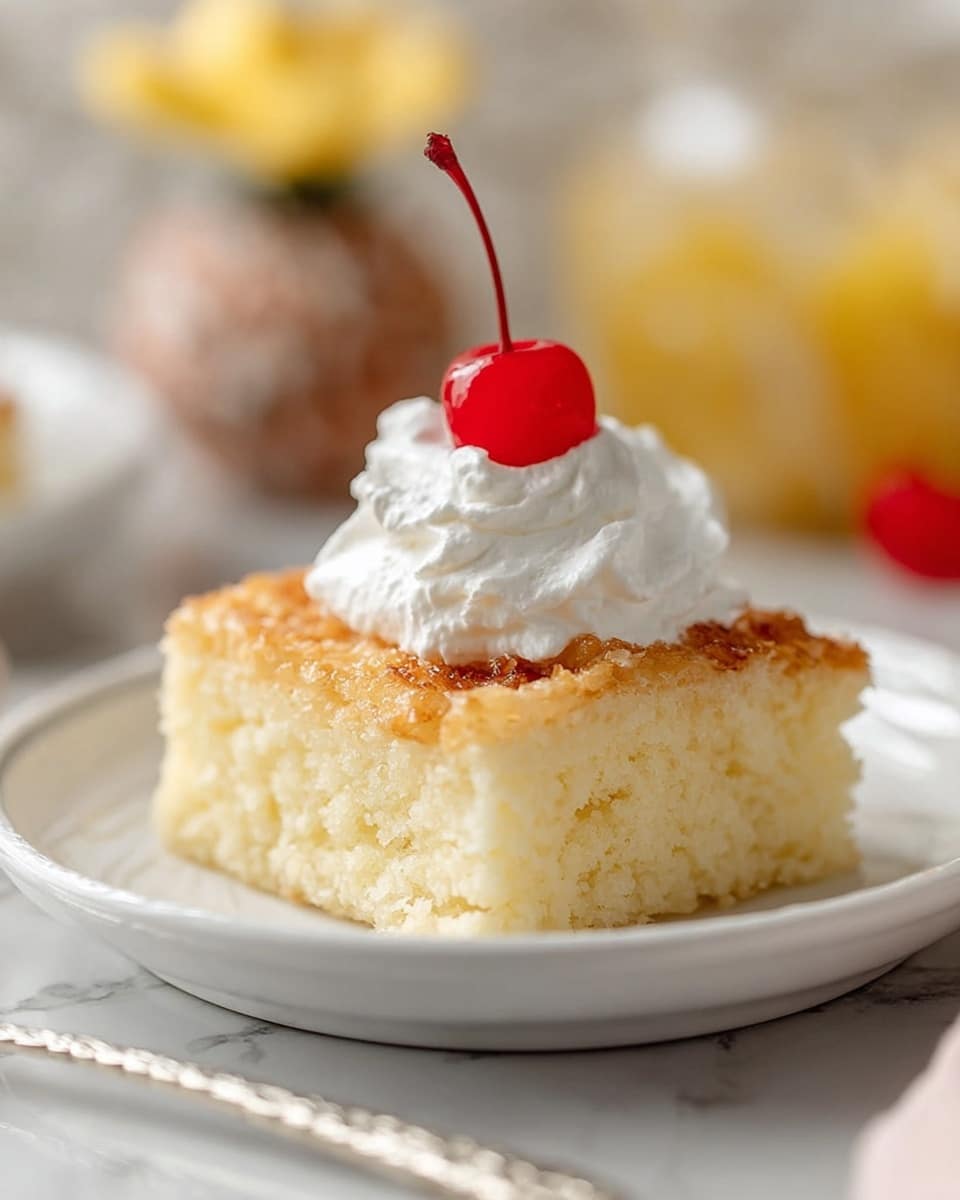
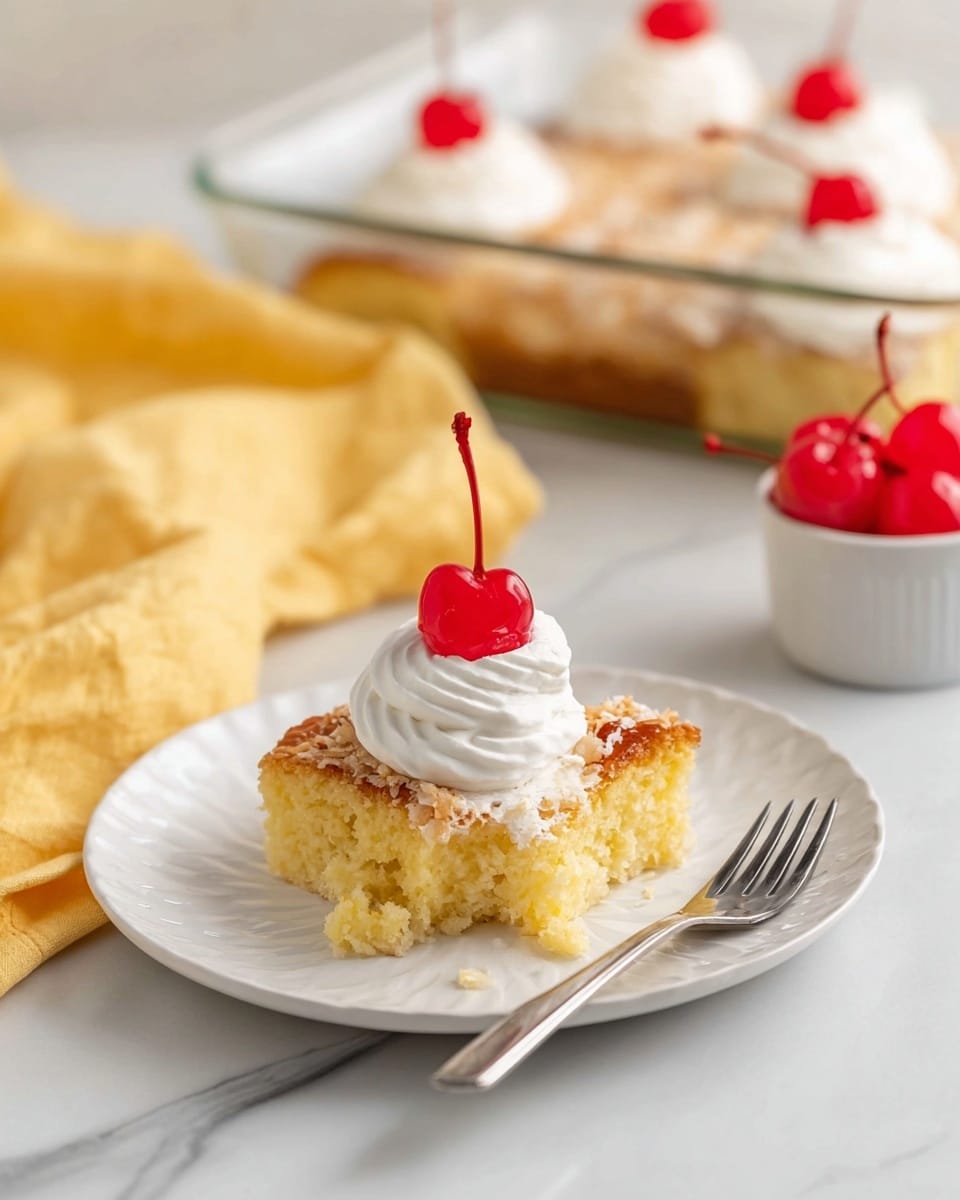
Finally, slice the cake into 12 equal squares and decorate each piece with pineapple chunks or maraschino cherries. It’s a simple step that really makes this dessert pop, both visually and flavor-wise.
Tips from My Kitchen
- Don’t Drain the Pineapple Juice: That juice keeps your cake moist and flavorful—draining it will dry out your batter.
- Cool Completely Before Topping: Applying whipped topping to a warm cake causes it to melt and look messy, so patience here really pays off.
- Use an Offset Spatula: It makes spreading that whipped topping smooth and flawless, giving your cake a professional finish.
- Baking Dish Prep: Avoid greasing your pan—the batter needs to cling to the sides to rise properly and hold that delicate structure.
How to Serve Pineapple Angel Food Cake Recipe
Garnishes
I adore topping slices with fresh pineapple chunks and bright maraschino cherries—they add a burst of color and enhance the tropical vibe. Sometimes, I’ll sprinkle a few toasted coconut flakes for a little crunch and a hint of nuttiness that pairs beautifully.
Side Dishes
This cake goes wonderfully alongside a light fruit salad or a fresh mint tea to balance the sweetness. If you’re serving it at a party, adding a bowl of vanilla ice cream or sorbet on the side always gets rave reviews.
Creative Ways to Present
For special occasions, I like to serve the slices on pretty dessert plates with a drizzle of pineapple glaze or rum sauce. You can also layer pieces with whipped cream and extra pineapple chunks to create a deconstructed trifle—it’s a showstopper!
Make Ahead and Storage
Storing Leftovers
I store leftover Pineapple Angel Food Cake in an airtight container in the fridge, where it keeps well for up to 3 days. The whipped topping stays fresh and the cake remains moist, so no worries if you want to spread out the indulgence.
Freezing
If I need to freeze it, I recommend freezing the cake layer separately without the whipped topping. Wrap it tightly in plastic wrap and foil, freeze for up to a month, then thaw in the fridge before adding whipped topping and garnishes.
Reheating
This cake is best enjoyed chilled or at room temperature, so reheating isn’t usually necessary. If you like, you can let refrigerated leftovers sit out 20 minutes before serving to soften the texture nicely.
FAQs
-
Can I use fresh pineapple instead of canned in this recipe?
Absolutely! Fresh crushed pineapple works great as long as you include some of the juice to keep the cake moist. Just be sure to finely chop or crush it well so it mixes evenly with the batter.
-
Do I really need to use an ungreased pan for this cake?
Yes, for angel food cake recipes, you want the batter to cling to the sides of the pan so it can rise properly while baking. Greasing the pan can cause the cake to collapse or not rise fully.
-
Can I make this Pineapple Angel Food Cake Recipe gluten-free?
Usually, angel food cake mixes contain wheat flour, but if you find a gluten-free angel food cake mix, this recipe can be adapted easily by simply substituting it. Just follow the package instructions for baking time and temperature as a guide.
-
What’s the best way to store leftovers?
Store leftovers in an airtight container in the refrigerator for up to three days. Covering the cake well keeps the whipped topping from drying out, maintaining that creamy texture.
Final Thoughts
This Pineapple Angel Food Cake Recipe is one of those sweet treasures I always come back to when I want a fresh, easy dessert that never disappoints. It’s approachable enough for weeknight baking but pretty enough to impress guests without extra stress. Give it a shot—you might find yourself making it as often as I do, especially when you want light, bright flavors that bring a smile every time.
Print
Pineapple Angel Food Cake Recipe
- Prep Time: 5 minutes
- Cook Time: 30 minutes
- Total Time: 1 hour 35 minutes
- Yield: 12 servings
- Category: Dessert
- Method: Baking
- Cuisine: American
- Diet: Vegetarian
Description
This Pineapple Angel Food Cake is a light, fluffy dessert combining airy angel food cake with juicy crushed pineapple for a refreshing tropical twist. Topped with creamy whipped topping and garnished with pineapple chunks or maraschino cherries, it’s perfect for summer gatherings or anytime you want a sweet, tangy treat.
Ingredients
Cake Batter
- 16 ounce (1 box) angel food cake mix
- 20 ounce (1 canned) crushed pineapple, un-drained
Topping and Garnish
- 8 ounce (1 container) whipped topping, thawed
- Pineapple chunks or maraschino cherries, for garnish
Instructions
- Preheat Oven: Preheat your oven to 350°F to prepare for baking the cake batter evenly.
- Mix Batter: In a medium mixing bowl, combine the angel food cake mix and the un-drained crushed pineapple. Using a handheld mixer on medium-low speed, blend until the mixture is well combined, leaving a few small lumps for texture.
- Prepare Baking Dish: Pour the batter into an un-greased 9×13 inch baking dish. Use a spatula to spread the batter evenly across the bottom of the dish for uniform baking.
- Bake Cake: Bake in the preheated oven for 30 minutes, or until the top turns golden brown and a toothpick inserted in the center comes out clean.
- Cool Cake: Remove the cake from the oven and allow it to cool completely for about 1 hour at room temperature before adding the topping.
- Add Whipped Topping: Once cooled, use an offset spatula to spread the thawed whipped topping evenly over the surface of the cake.
- Slice and Garnish: Cut the cake into 12 equal pieces. Decorate each piece with pineapple chunks or maraschino cherries as desired, adding a colorful and tasty finish.
Notes
- For best results, make sure the cake is completely cooled before adding the whipped topping to prevent melting.
- If you prefer a sweeter topping, you can fold in a bit of powdered sugar into the whipped topping before spreading.
- Use fresh pineapple chunks for garnish if you prefer a fresher taste over canned or maraschino cherries.
- This cake is best served chilled but can be kept at room temperature if serving shortly after preparation.
- Leftovers should be stored in the refrigerator covered tightly to maintain freshness.
Nutrition
- Serving Size: 1 slice
- Calories: 180 kcal
- Sugar: 18 g
- Sodium: 90 mg
- Fat: 2 g
- Saturated Fat: 1 g
- Unsaturated Fat: 0.5 g
- Trans Fat: 0 g
- Carbohydrates: 38 g
- Fiber: 1 g
- Protein: 2 g
- Cholesterol: 0 mg

